OBS Recording Instructions
These are the steps for recording an explanation video using OBS.
1. Installation
Navigate to https://obsproject.com/download and download the installer for your operating system. The installation process should be standard to your operating system. No plugins are required. Once it is installed, launch OBS.
2. Initial Configuration Wizard
The first thing that appears on launch is the configuration wizard. Click Yes to run it.

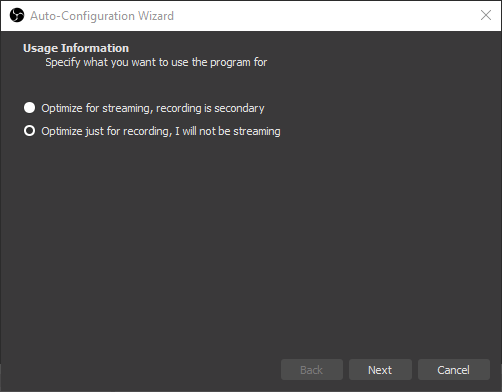
Select Optimize just for recording, I will not be streaming and click Next.
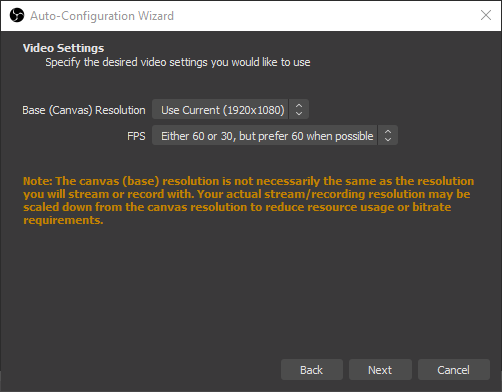
The next screen is video settings. It should default to Use Current and Either 60 or 30. Click Next.
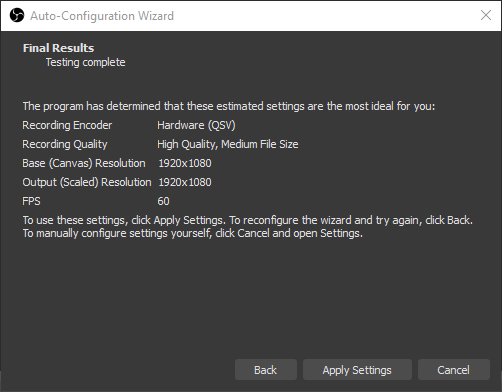
The last screen of the configuration wizard is Final Results. There is nothing to change, so click Apply Settings.
3. Setting the Output Resolution
If hard drive space is not an issue, you can skip this step. However if you would like the videos to take up a little less space, you can change the output resolution.
Go to the Settings near the bottom right of the interface.

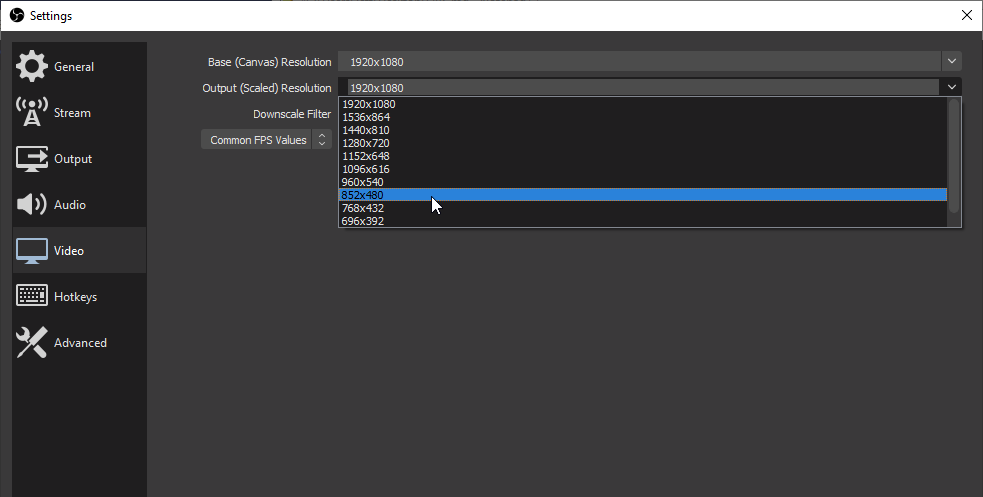
In the bar at the left side of the screen, select Video. There will be a setting called Output (Scaled) Resolution. Click the dropdown and you will see a list of screen resolutions, with numbers like 852x480. Select the resolution for which the number on the right-hand side of the x is closest to 720 without being less than 720. Any less than this will make it very hard to see what you are doing in the video. Click OK to save the settings.
4. Adding Display Capture to Sources
Click the + button under the heading Sources.
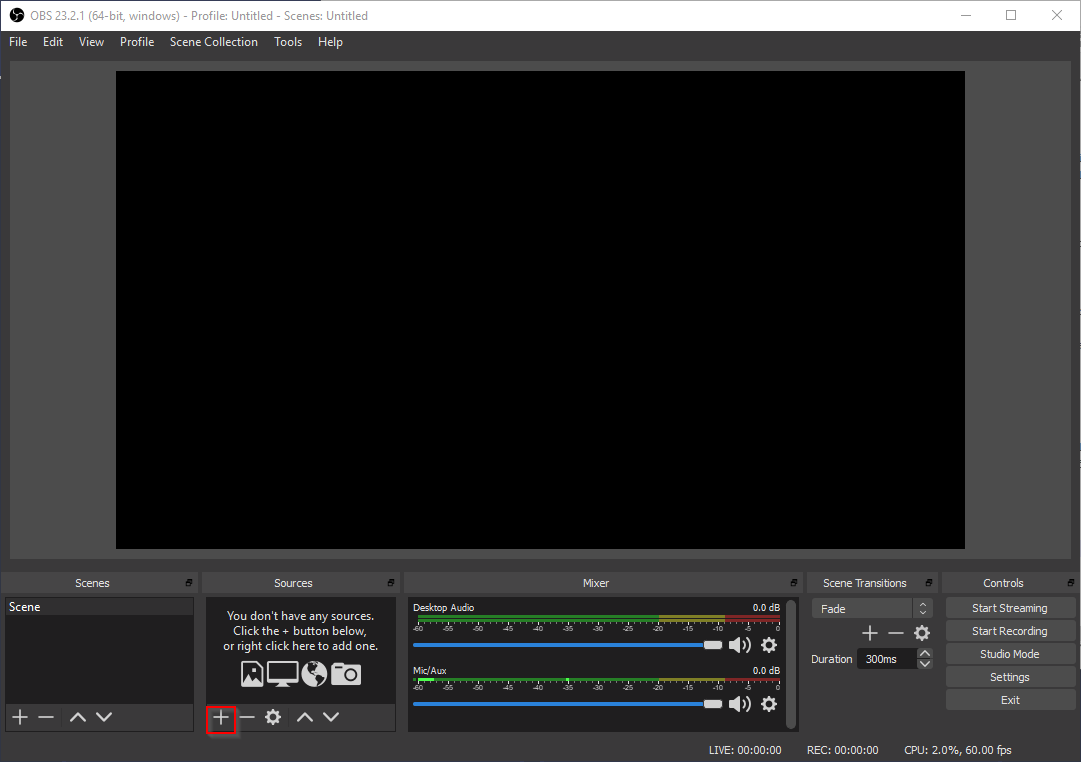
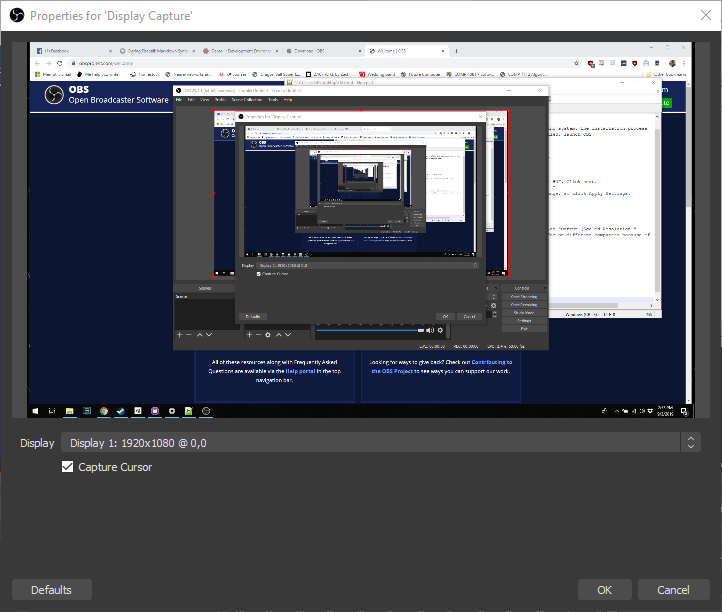
From the popup menu select Display Capture, then click OK in the popup window.
Finally click OK in the larger preview window that appears.
5. Adding Webcam to Sources
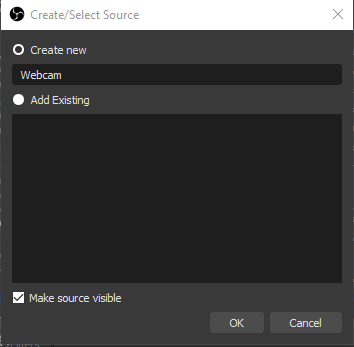
Again, click the + button under the heading Sources, and this time select Video Capture Device.
Make sure Create new is selected and rename it to Webcam. Click OK.
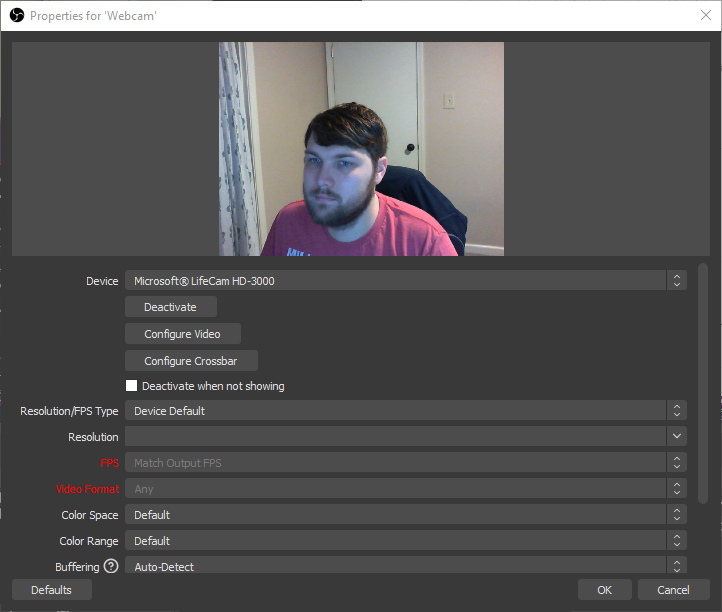
A window for called Properties for 'Webcam' will appear. Select your webcam in the Device dropdown menu and click OK.
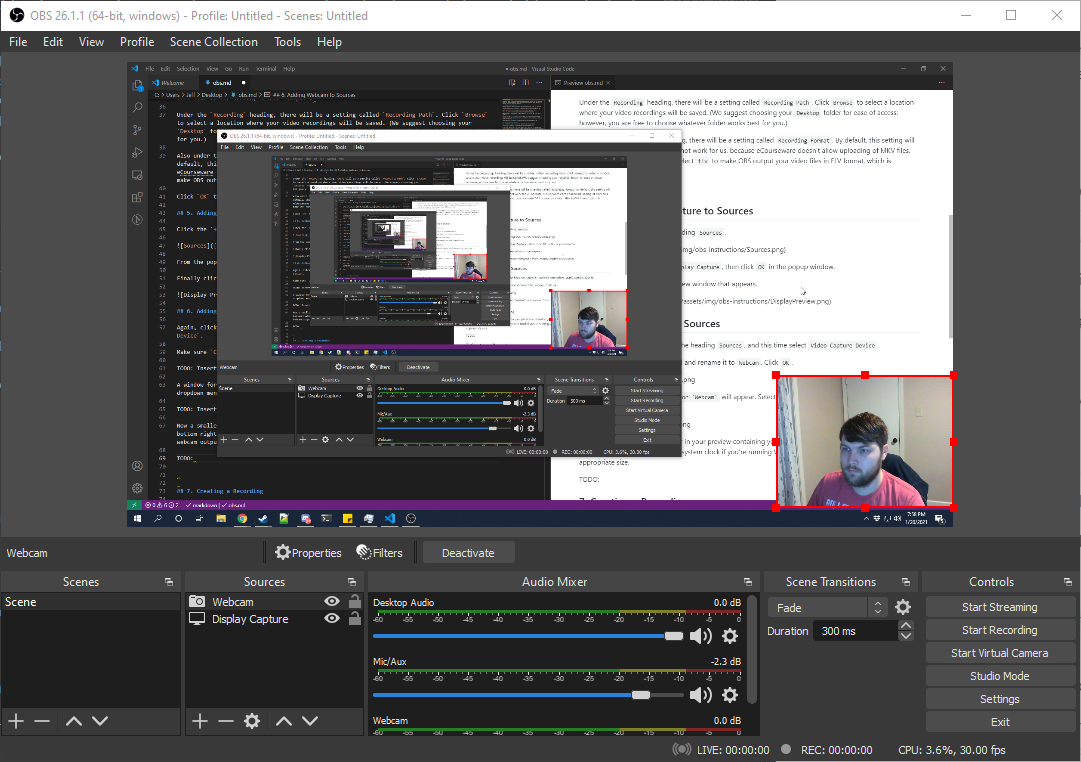
Now a smaller window will appear in your preview containing your webcam output. Drag it into the bottom right corner without covering the system clock if you’re running Windows. Re-size the webcam output to an appropriate size.
6. Creating a Recording
Near the bottom right of the interface, there are buttons to control recording.
-
Start Recordingwill begin a new recording. This will create a new.flvfile (to which the recording is being written) in the folder you specified above. -
Stop Recordingwill end the recording and finalize the.flvfile.
8. VLC for Playing the Video
To play the video that you created, you can install the VLC Media Player.