Windows Subsystem for Linux Setting Up WSL and the Windows Terminal
In this demonstration, I will show how to install and set up Windows Subsystem for Linux (WSL) 2 running the latest Ubuntu and the Windows Terminal app.
To use WSL, you must be using a 64-bit system with WIndows 10 Version 1903 or higher, with Build 18362 or higher. To check your build version, you can select Windows logo key + R, type winver, select OK. If your computer does not meet these minimum requirements, please see an instructor.
1. Enable Windows Subsystem for Linux
You must first enable the “Windows Subsystem for Linux” optional feature before installing any Linux distributions on Windows.
To do so, open Powershell as Administrator and run the command:
dism.exe /online /enable-feature /featurename:Microsoft-Windows-Subsystem-Linux /all /norestart
When it has finished, you should see a message that the operation completed successfully.
2. Enable Virtual Machine optional feature
Substep Enable Virtual Machine feature. Before installing WSL 2, you must enable the Virtual Machine Platform optional feature by running the following command in the Powershell window:
dism.exe /online /enable-feature /featurename:VirtualMachinePlatform /all /norestart
You should see a message that the operation completed successfully.
After completing Steps 1 & 2, you should see terminal output similar to the following:
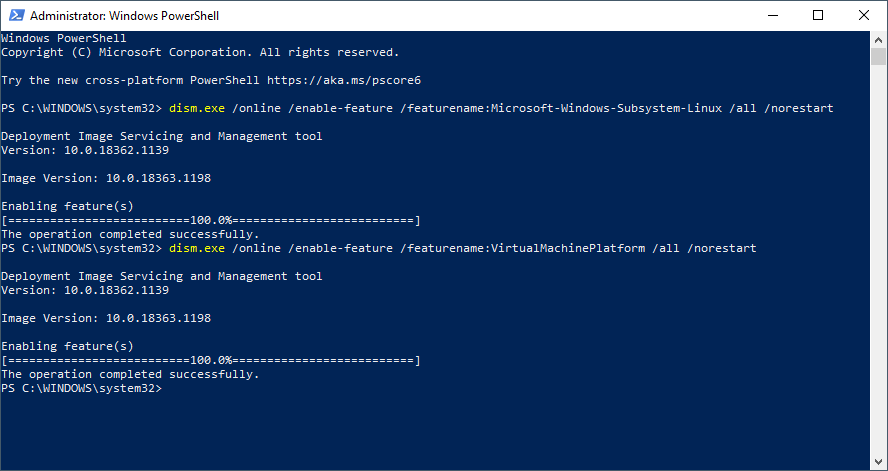
Figure 1. Powershell install commands.
Substep Restart. Restart your machine to complete the WSL install.
3. Upgrade to WSL 2
WSL 2 offers many performance boosts and quality of life improvements over WSL version 1 and, therefore, will be our preferred version.
Substep Download the Linux kernel update package. To update to the latest version of the WSL 2 Linux kernel, download and run the update package from the following link:
WSL2 Linux kernel update package for x64 machines
If you are prompted for elevated permissions, select ‘yes’ to approve this installation.
Substep Set WSL 2 as your default version. To set WSL2 as the default version, open Powershell and run the command:
wsl --set-default-version 2
4. Install Ubuntu Linux
Open the Microsoft Store app and search for Ubuntu. When the results appear, we select the Ubuntu app, as shown in Figure 2. Note that we install only the one simply named “Ubuntu”, and we do not install any of the ones with version numbers in their names.
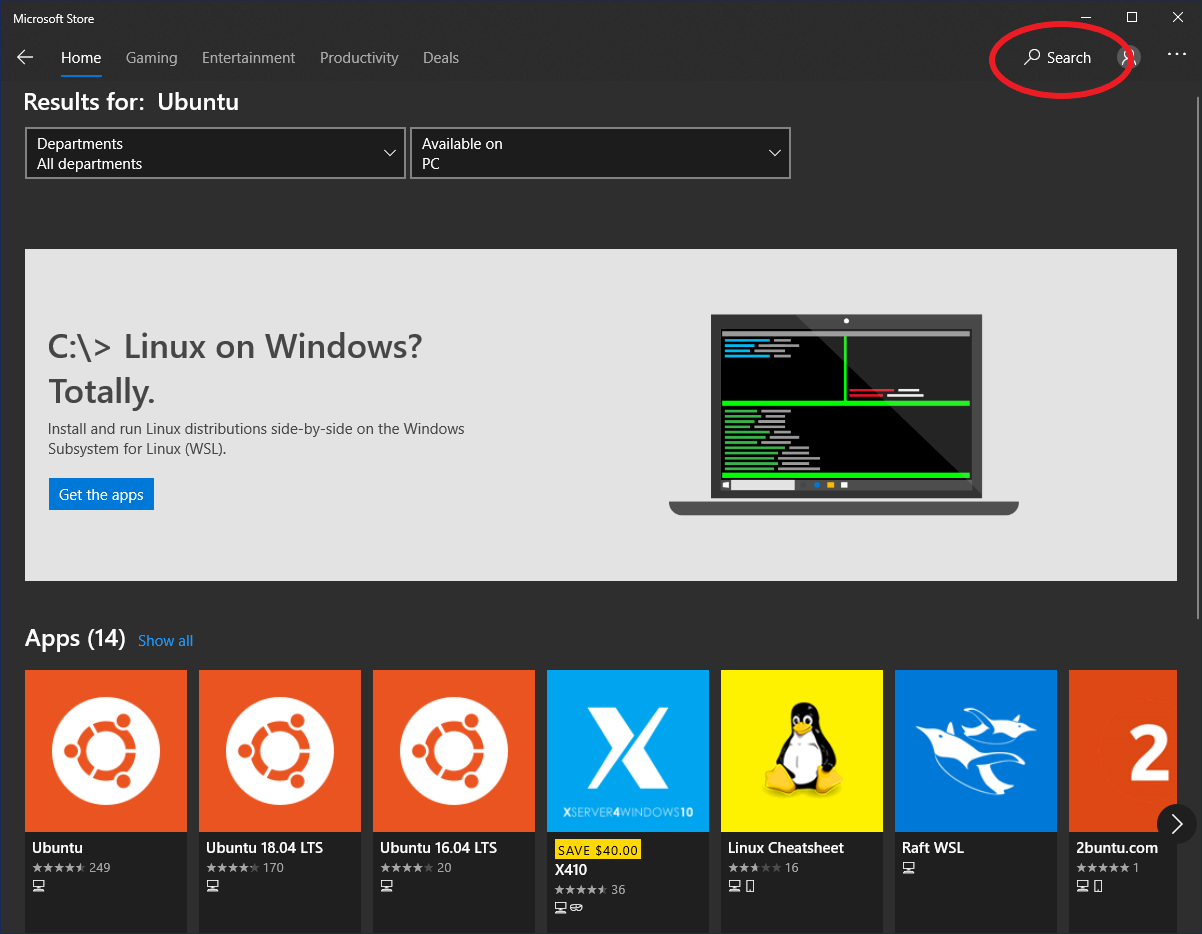
Figure 2. Find Ubuntu in Microsoft Store.
Next, we click on Install, as shown in Figure 3.
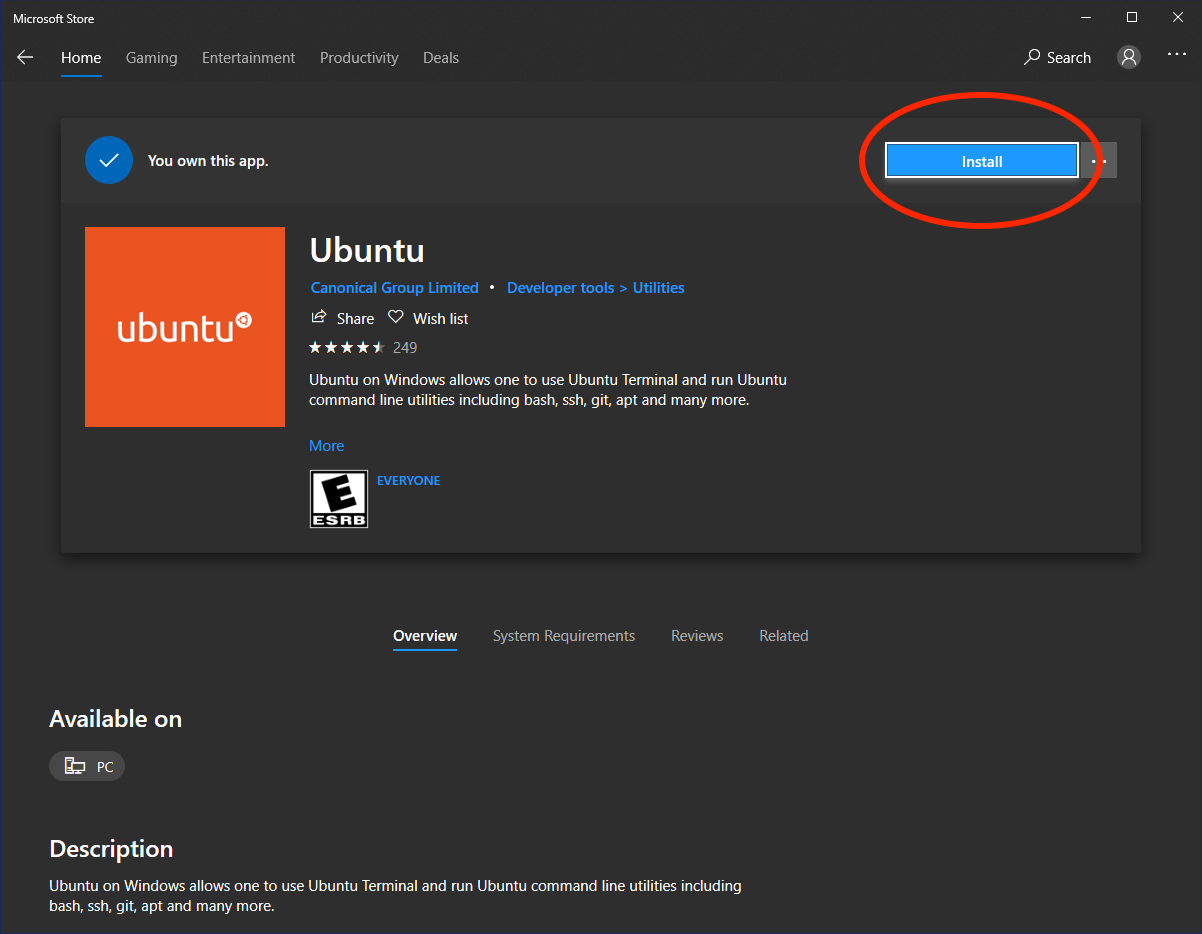
Figure 3. Install Ubuntu.
When the installation completes, we click on Launch, as shown in Figure 4.

Figure 4. Launch Ubuntu.
In the terminal that opens, we enter a username and then a password that we will remember, as shown in Figure 5.
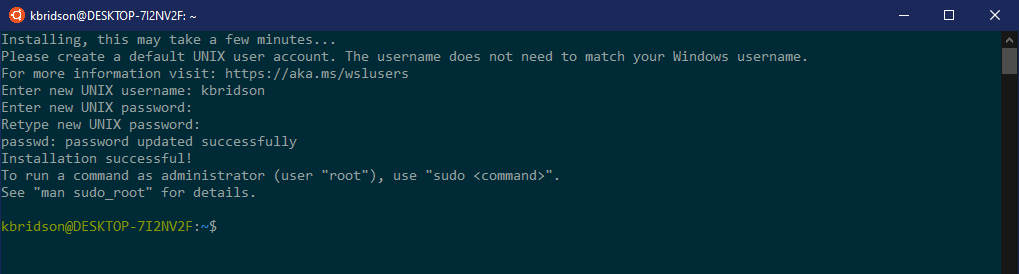
Figure 5. Ubuntu root user setup.
Once we are finished, we close the terminal window.
4. Install the Windows Terminal App
In the Microsoft Store, search for the Windows Terminal app, install it, and then launch it, as shown in Figure 6.
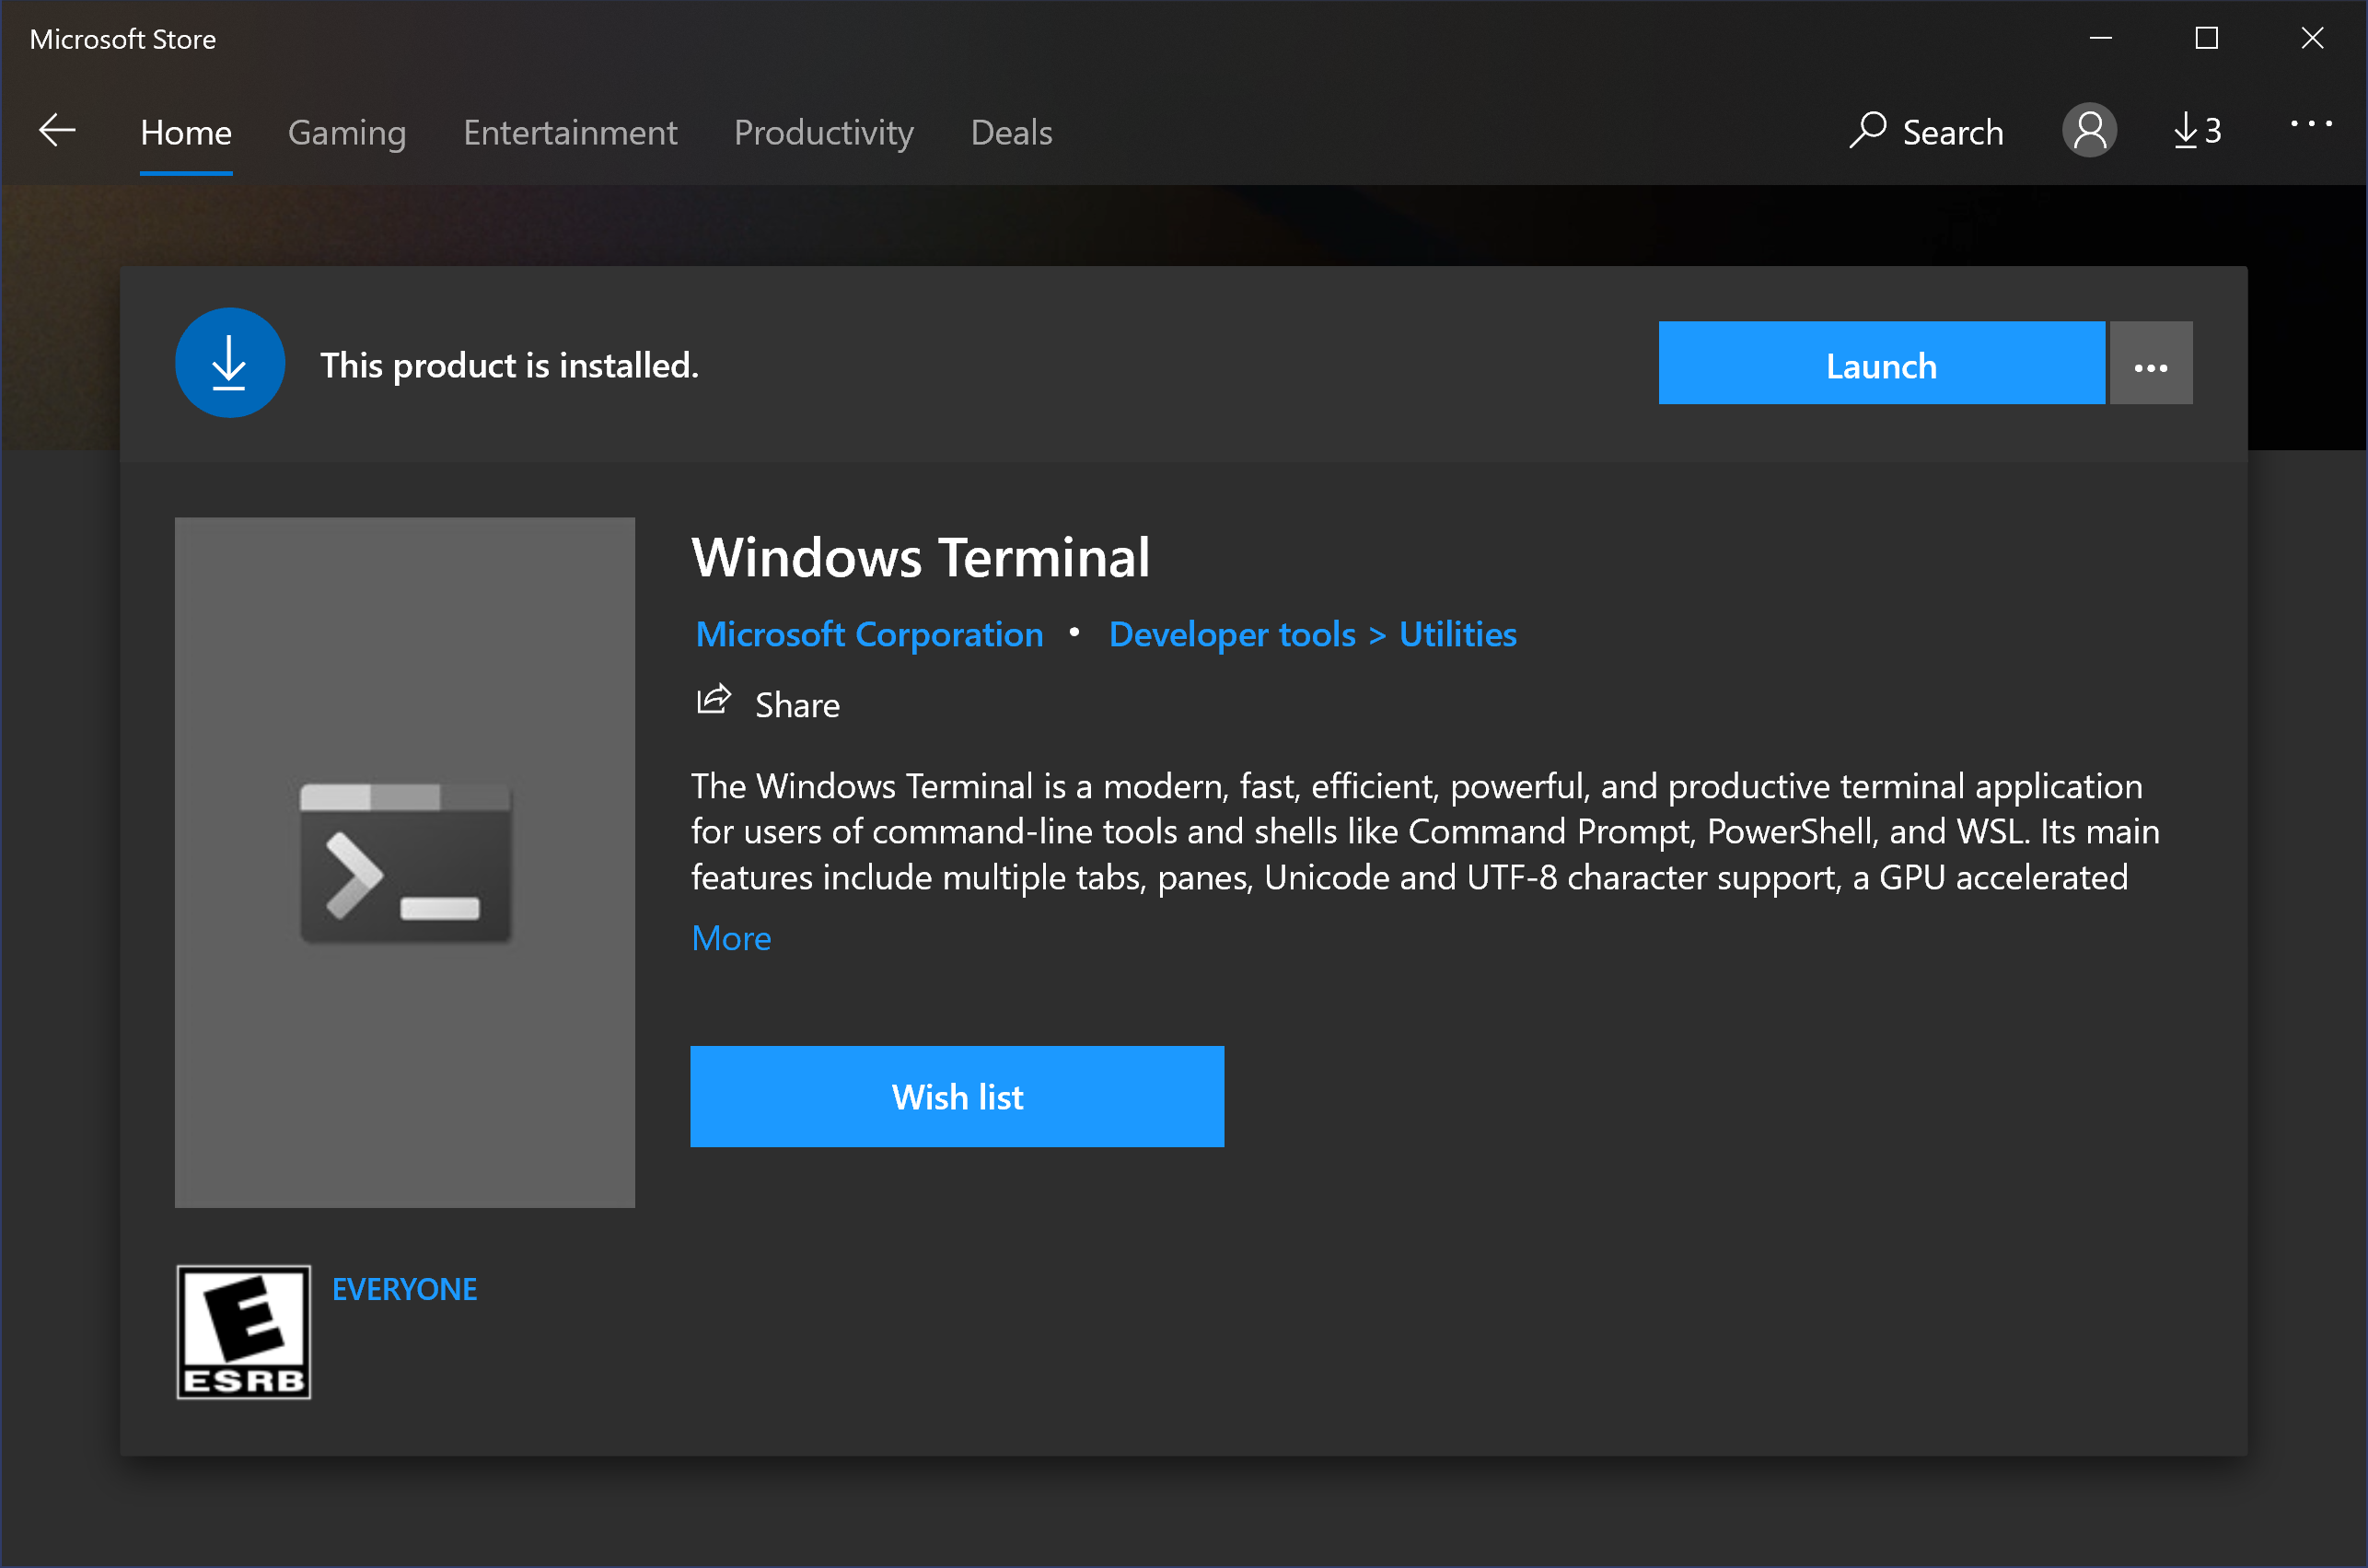
Figure 6. Launch Windows Terminal from Microsoft Store.
After Windows Terminal launches, open a new WSL Ubuntu terminal by clicking the dropdown and selecting Ubuntu, as shown in Figure 7.
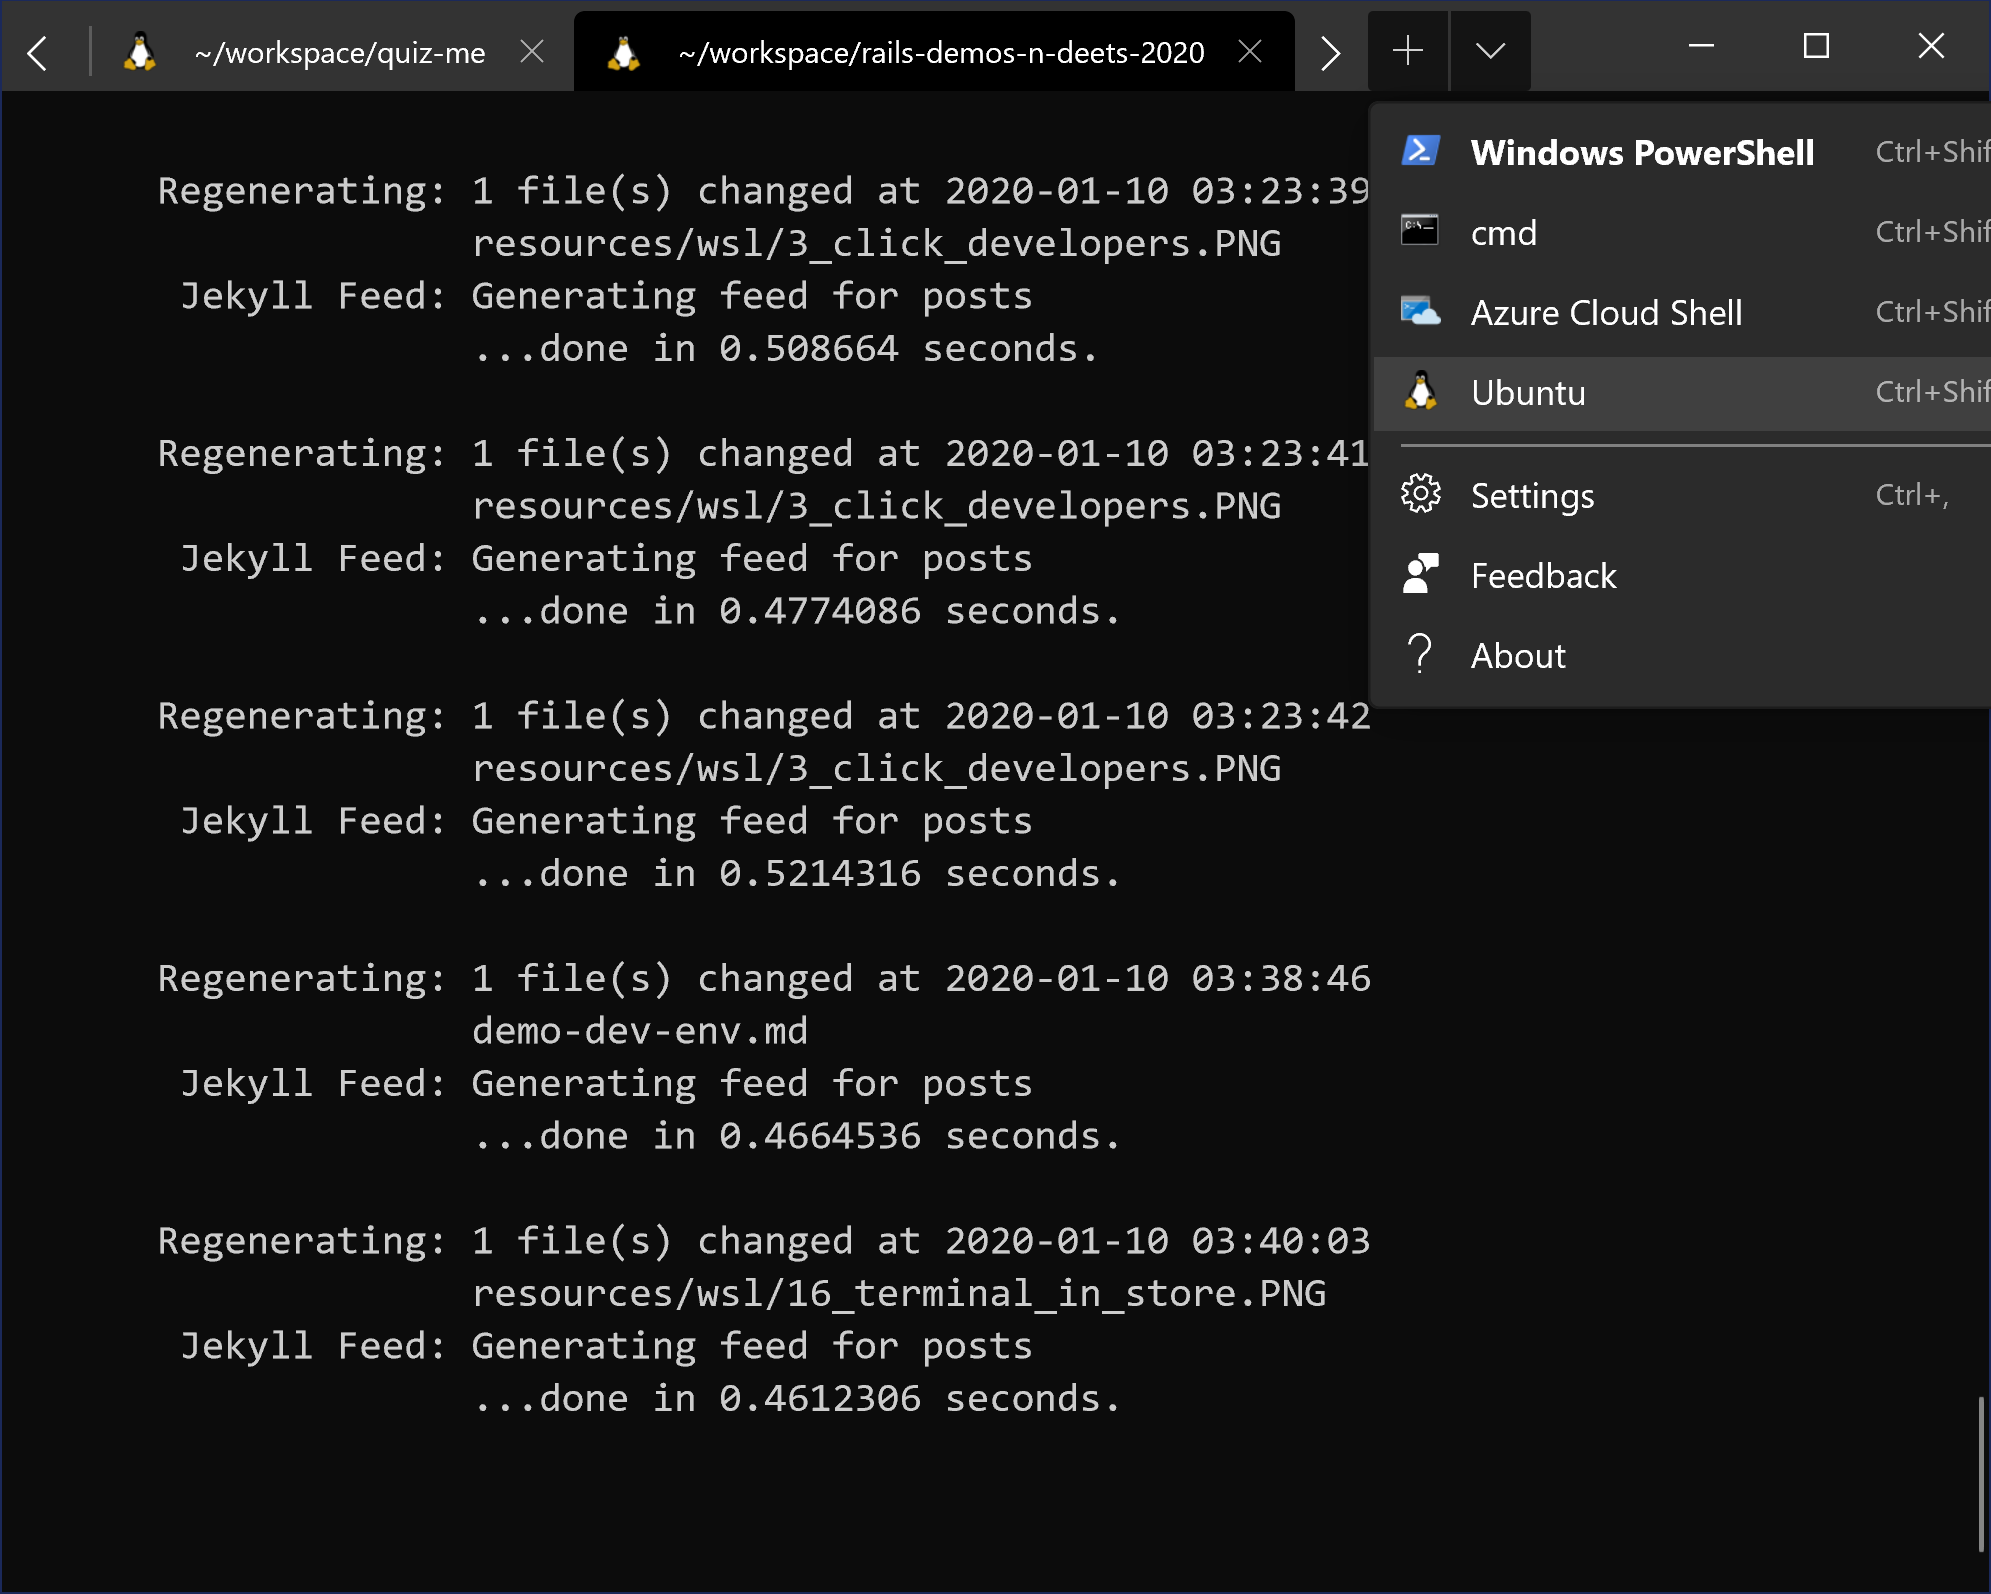
Figure 7. Open a new Ubuntu terminal tab
5. Conclusion
By completing the above steps, we have now installed a Unix-like development environment on our Windows system along with a terminal app to interface with it.