Setting Up Windows Subsystem for Linux (WSL) and Windows Terminal
1. Enable Developer Mode
Open the Settings app and click Update & Security as seen in Figure 1.
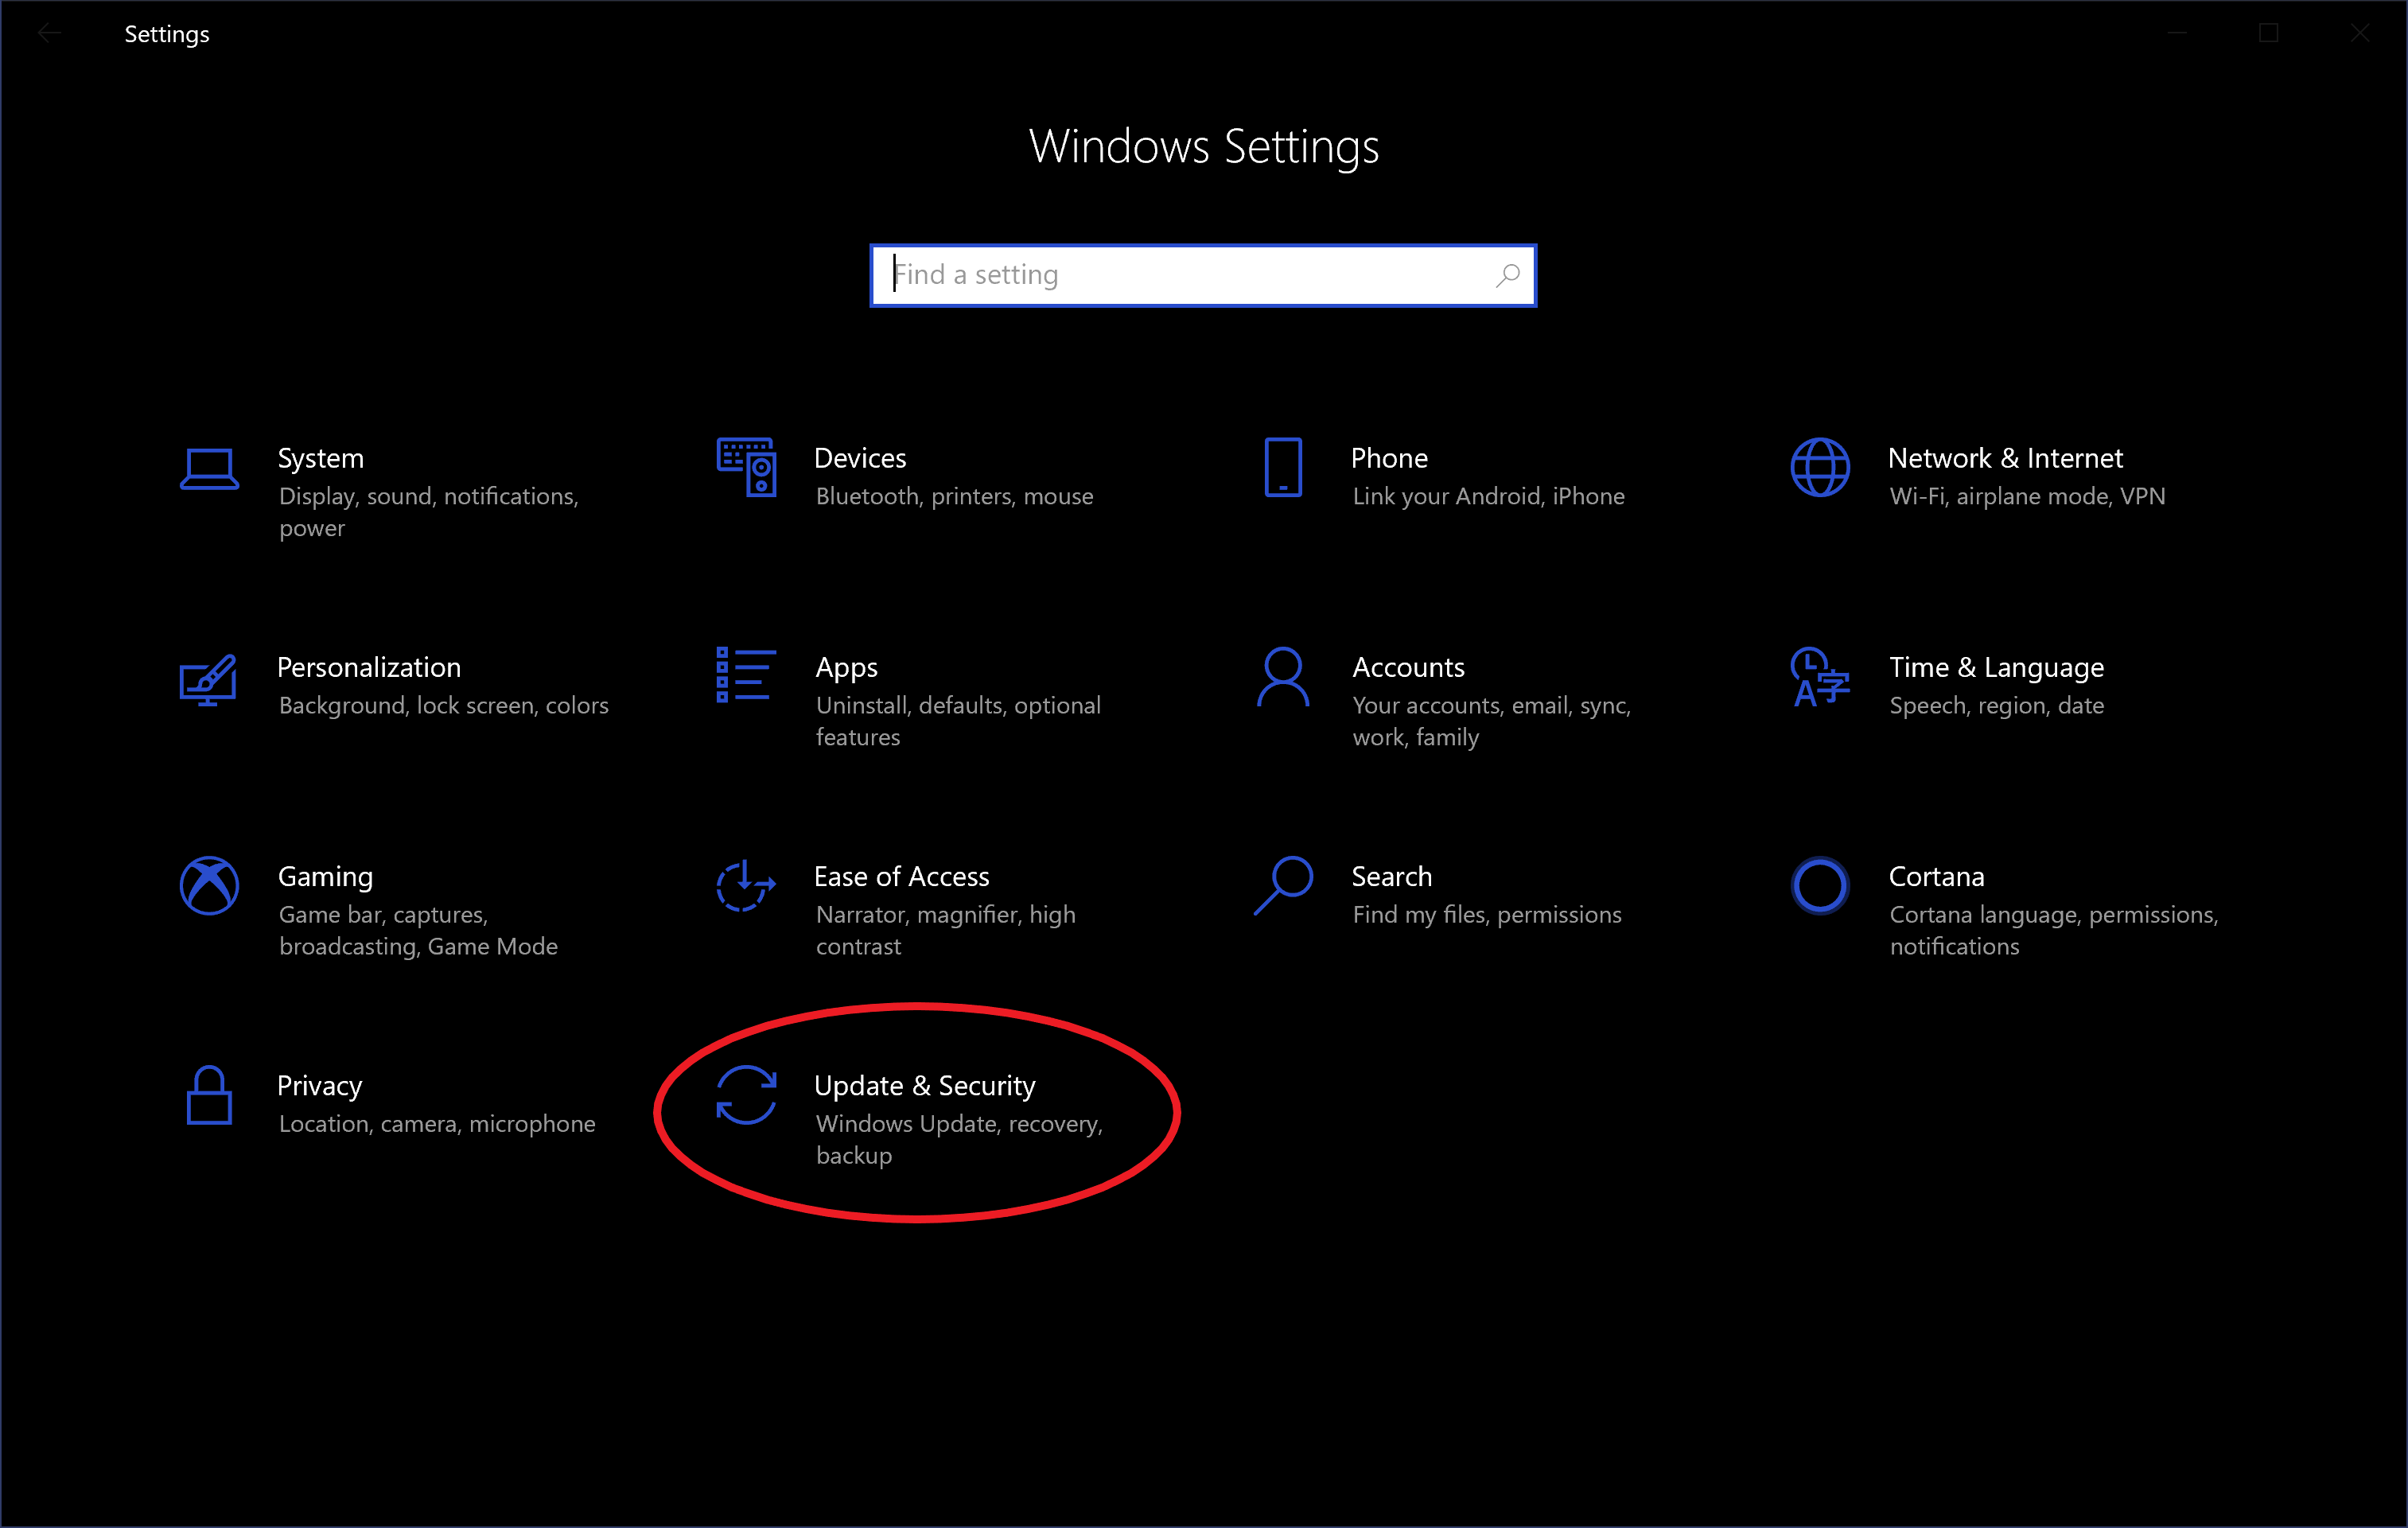
Figure 1. Windows Settings app
In the left menu, click For developers as seen in Figure 2.
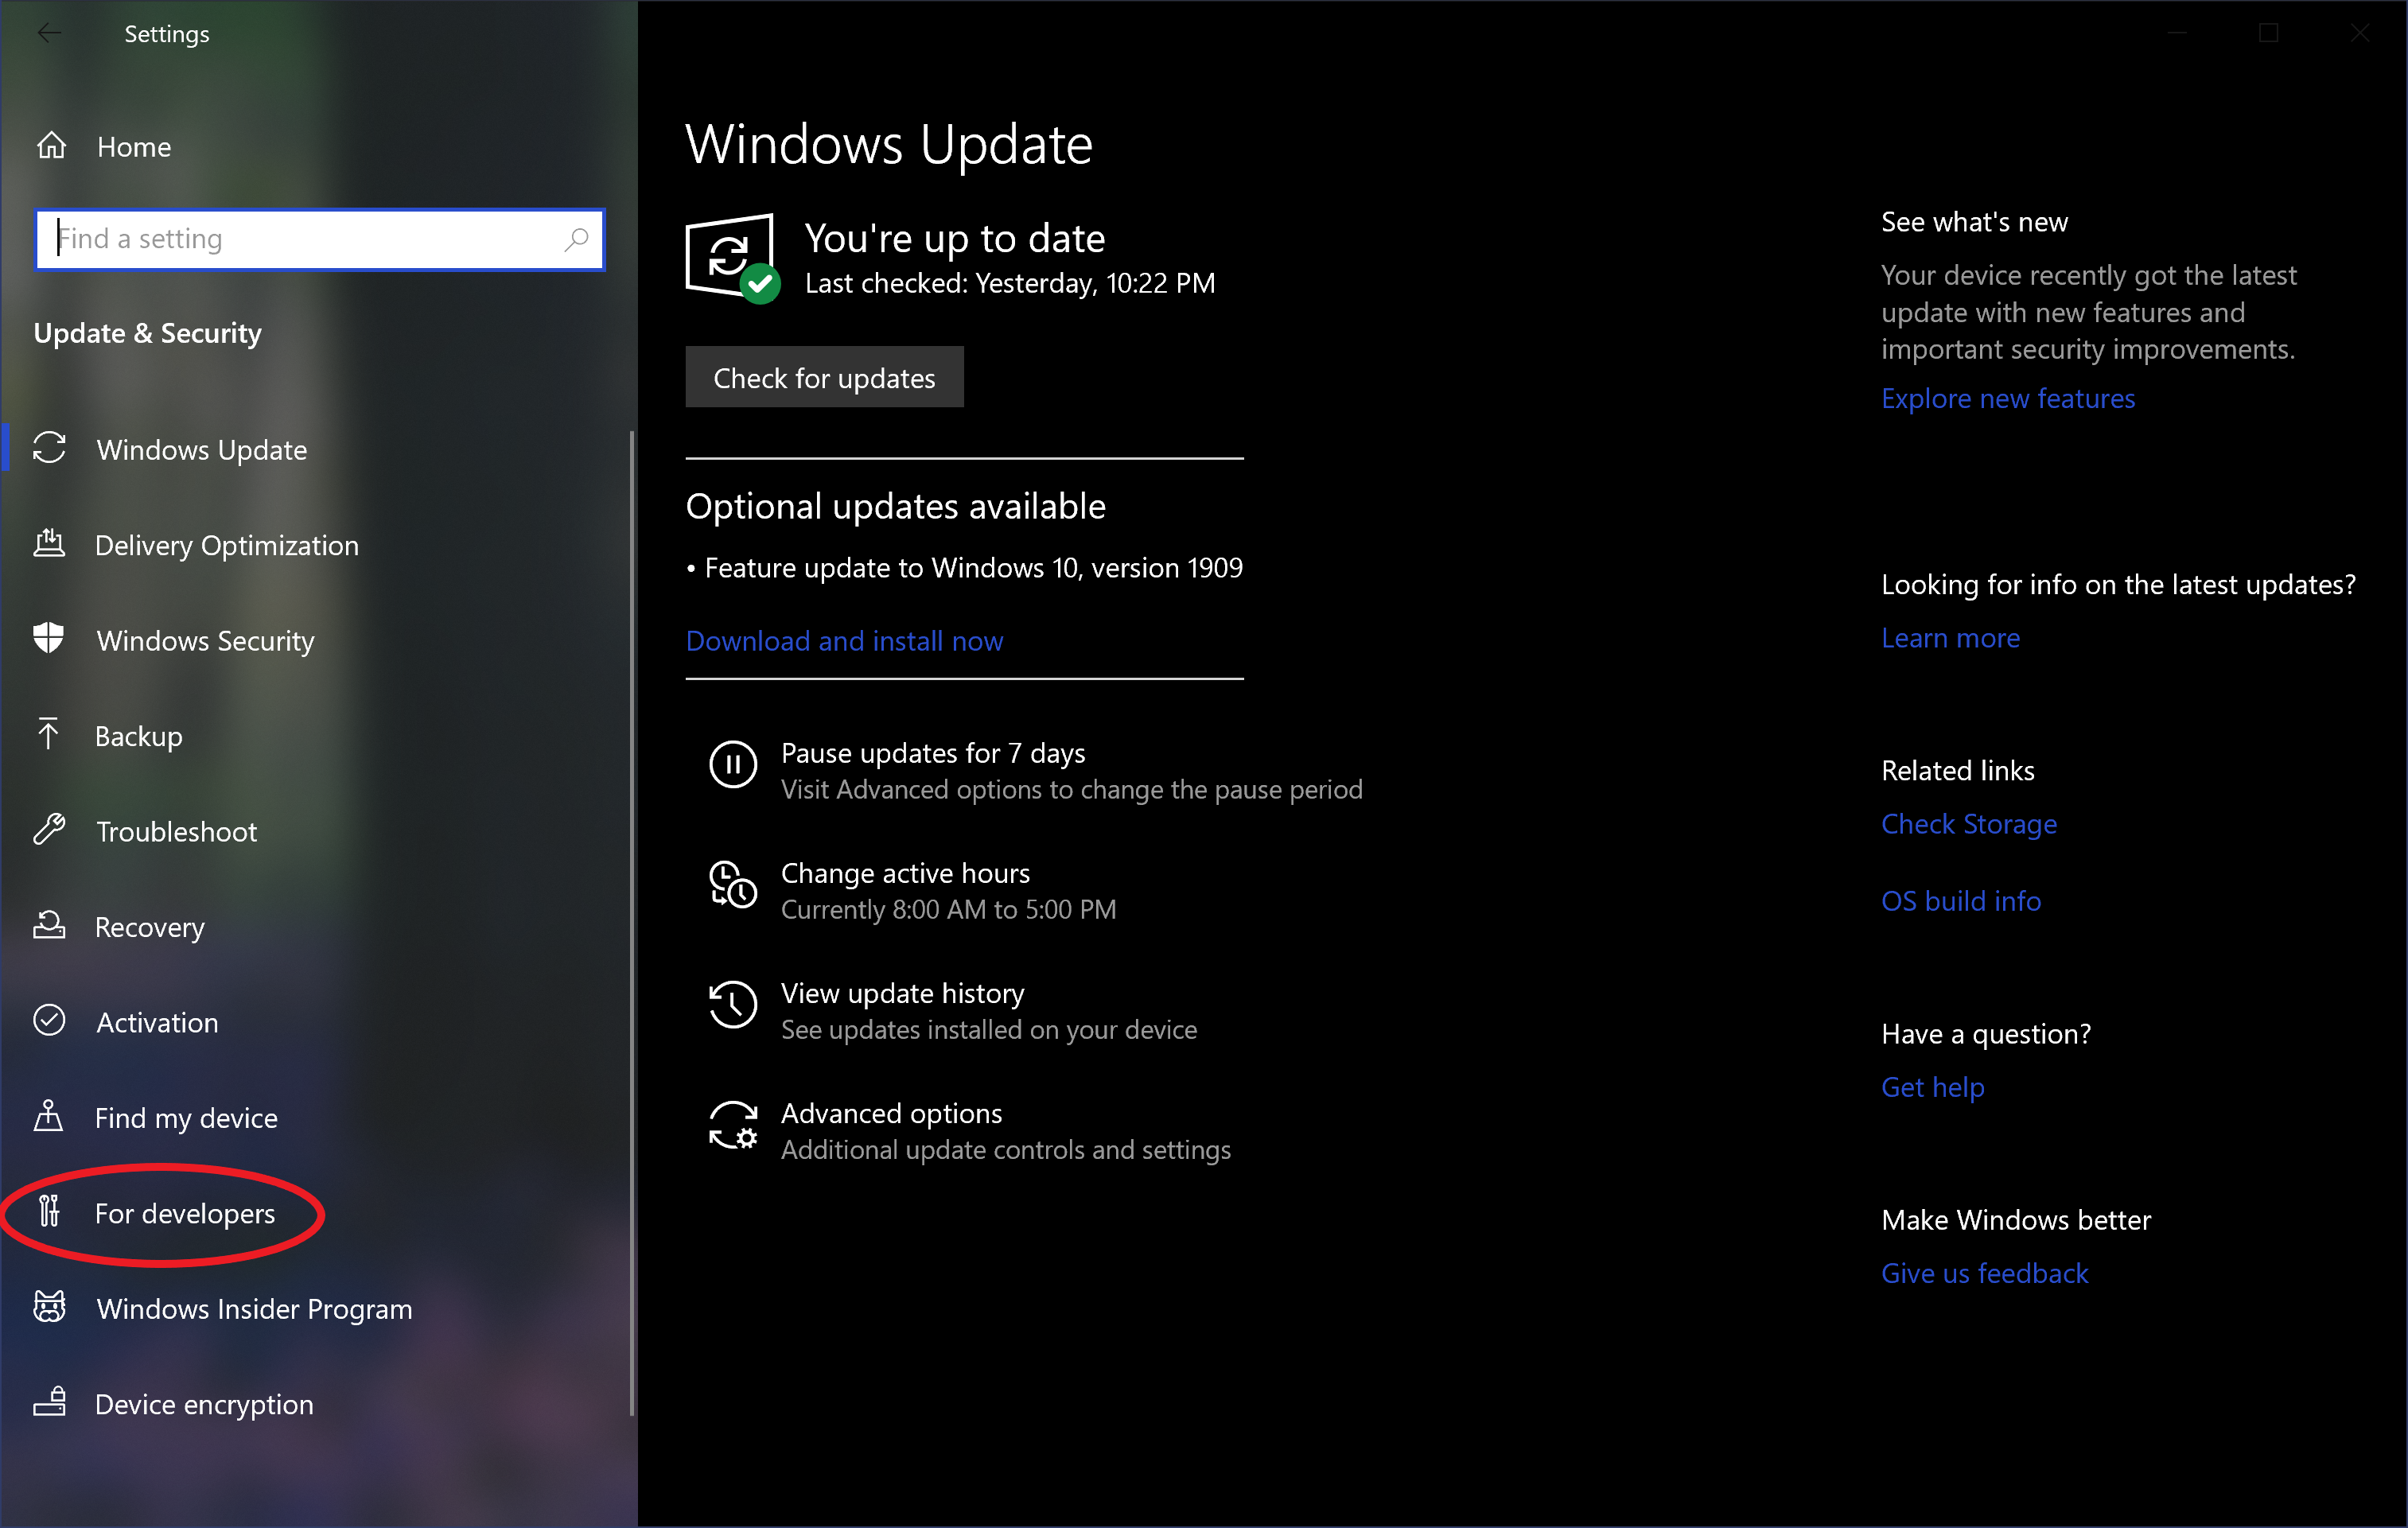
Figure 2. For developers in Update & Security
Enable Developer mode as seen in Figure 3.
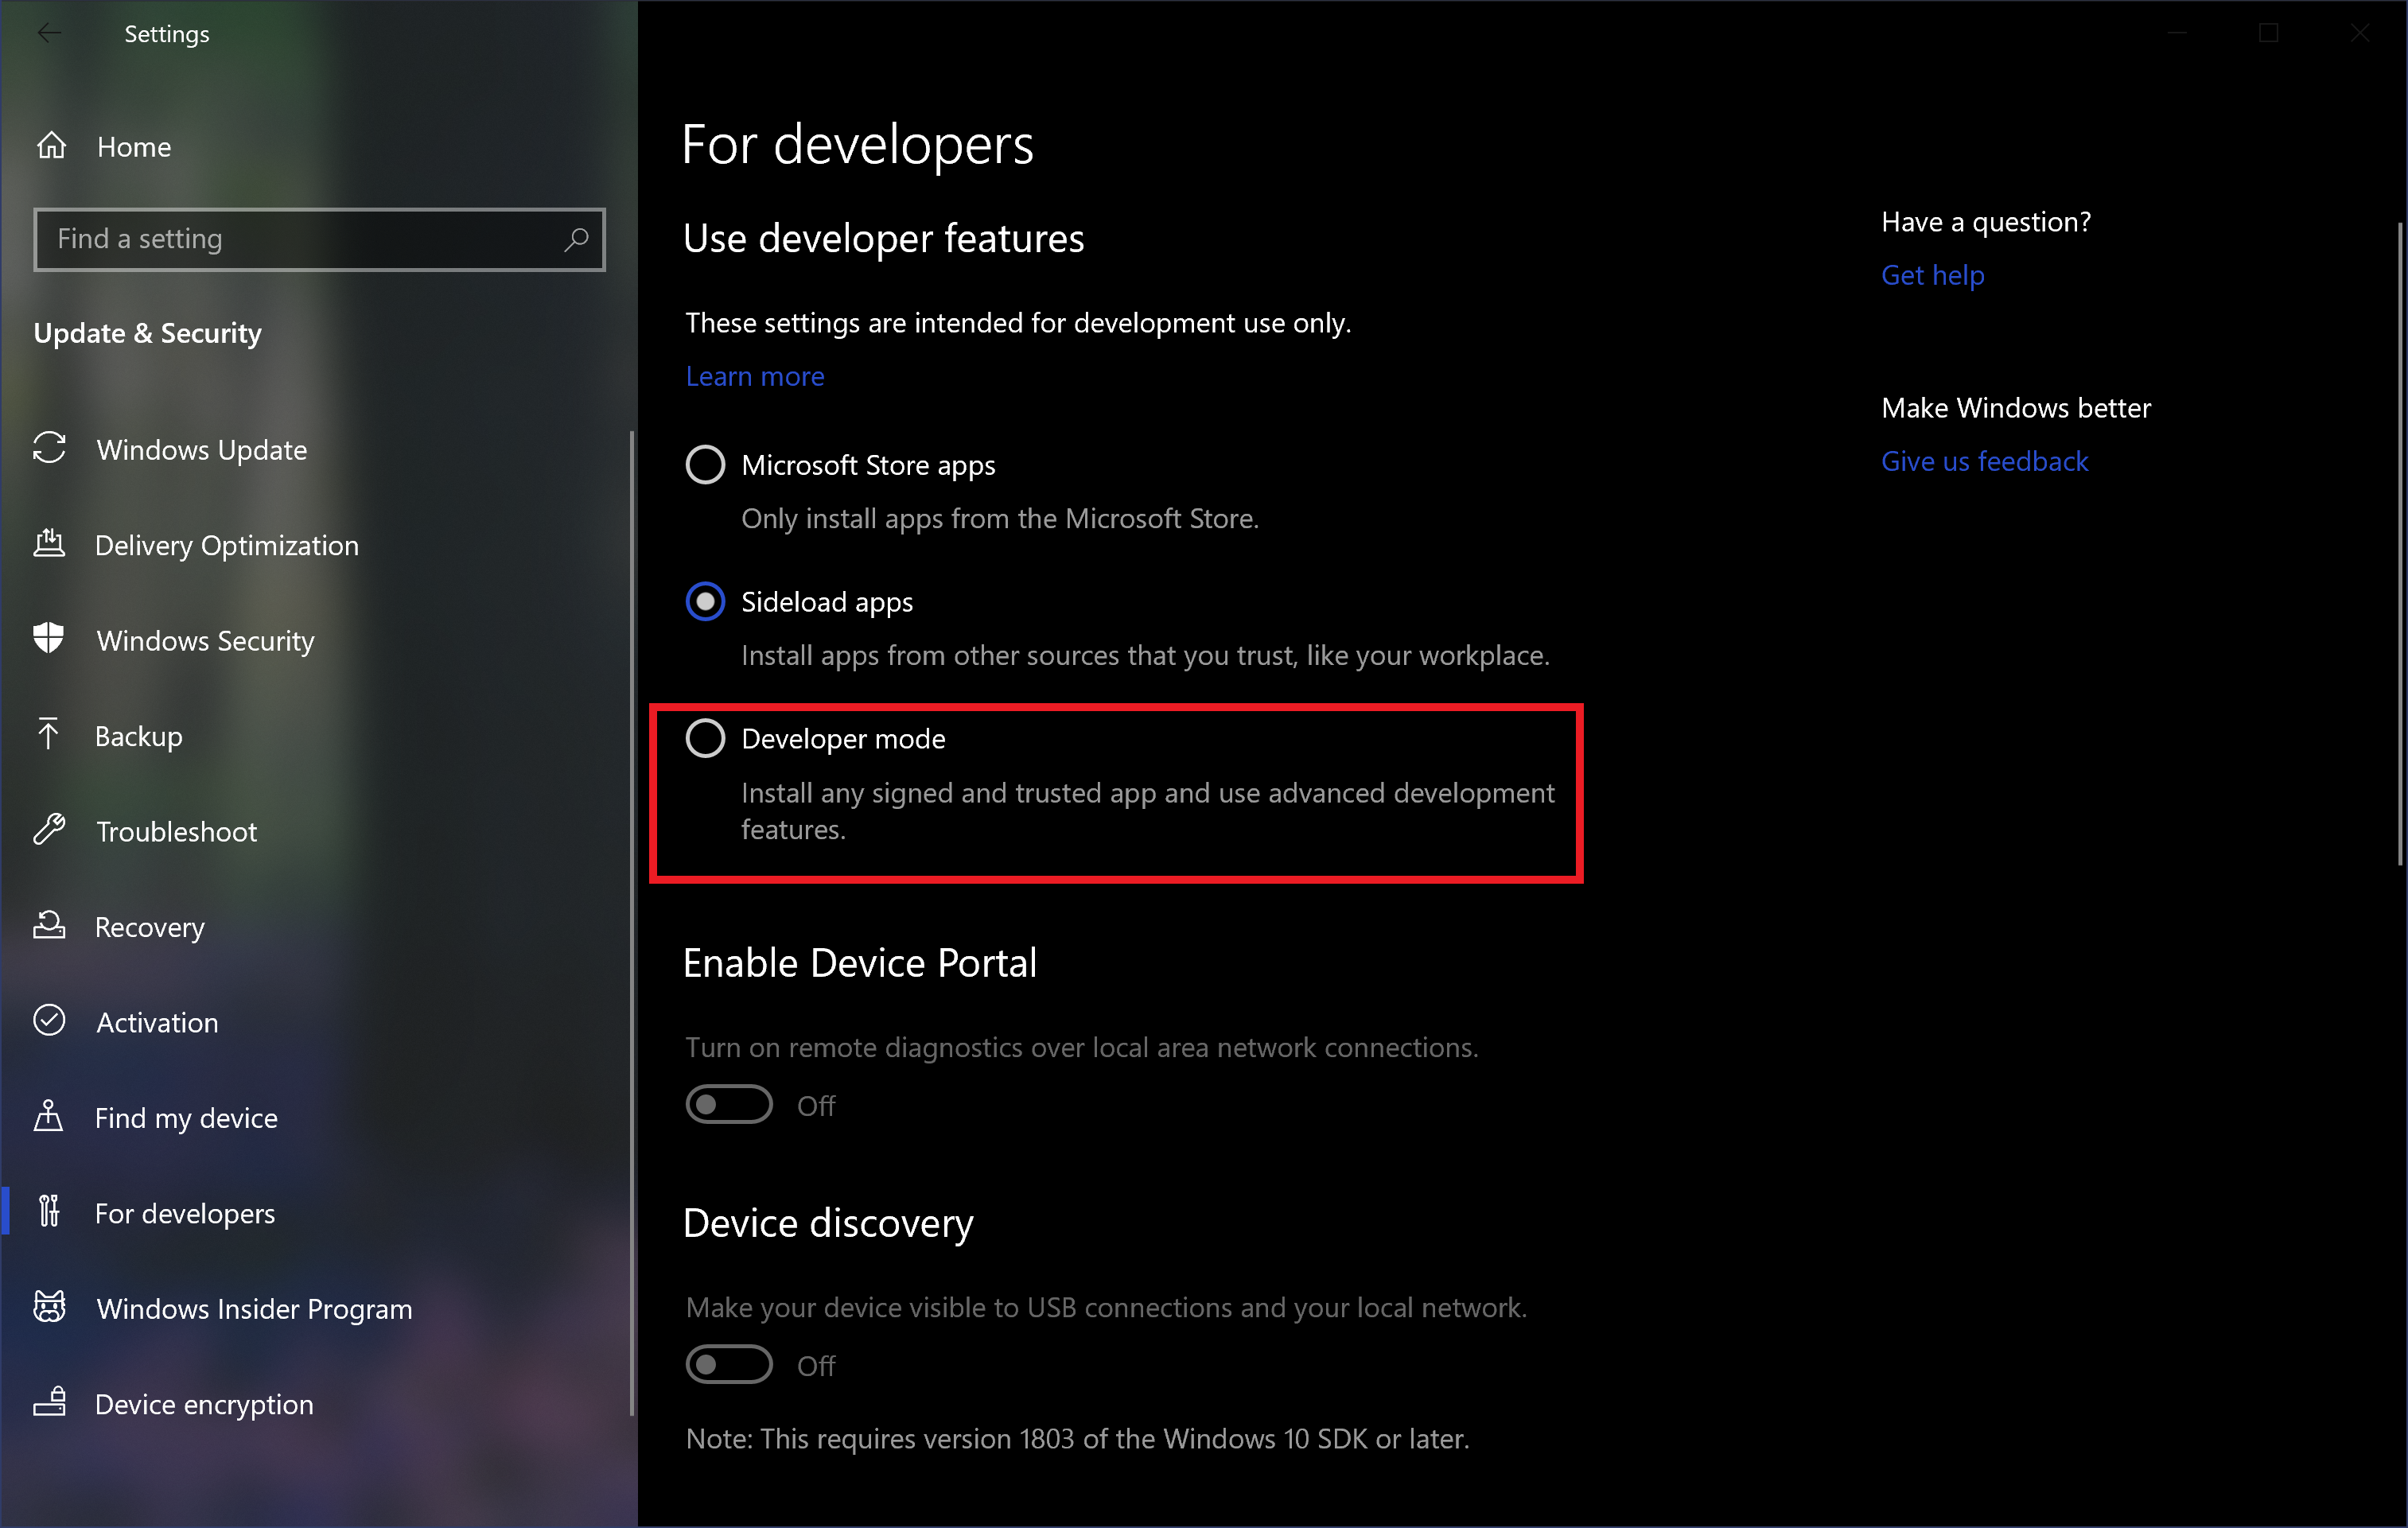
Figure 3. Developer mode
Accept the confirmation as seen in Figure 4.
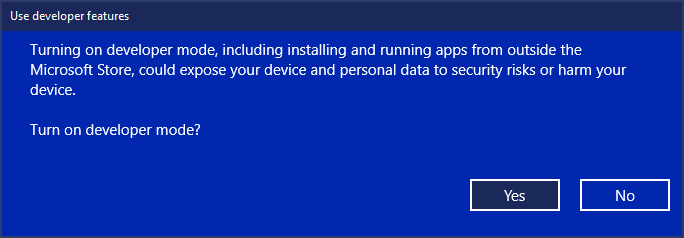
Figure 4. Developer mode confirmation
Wait for the Developer Mode package to install as seen in Figure 5.
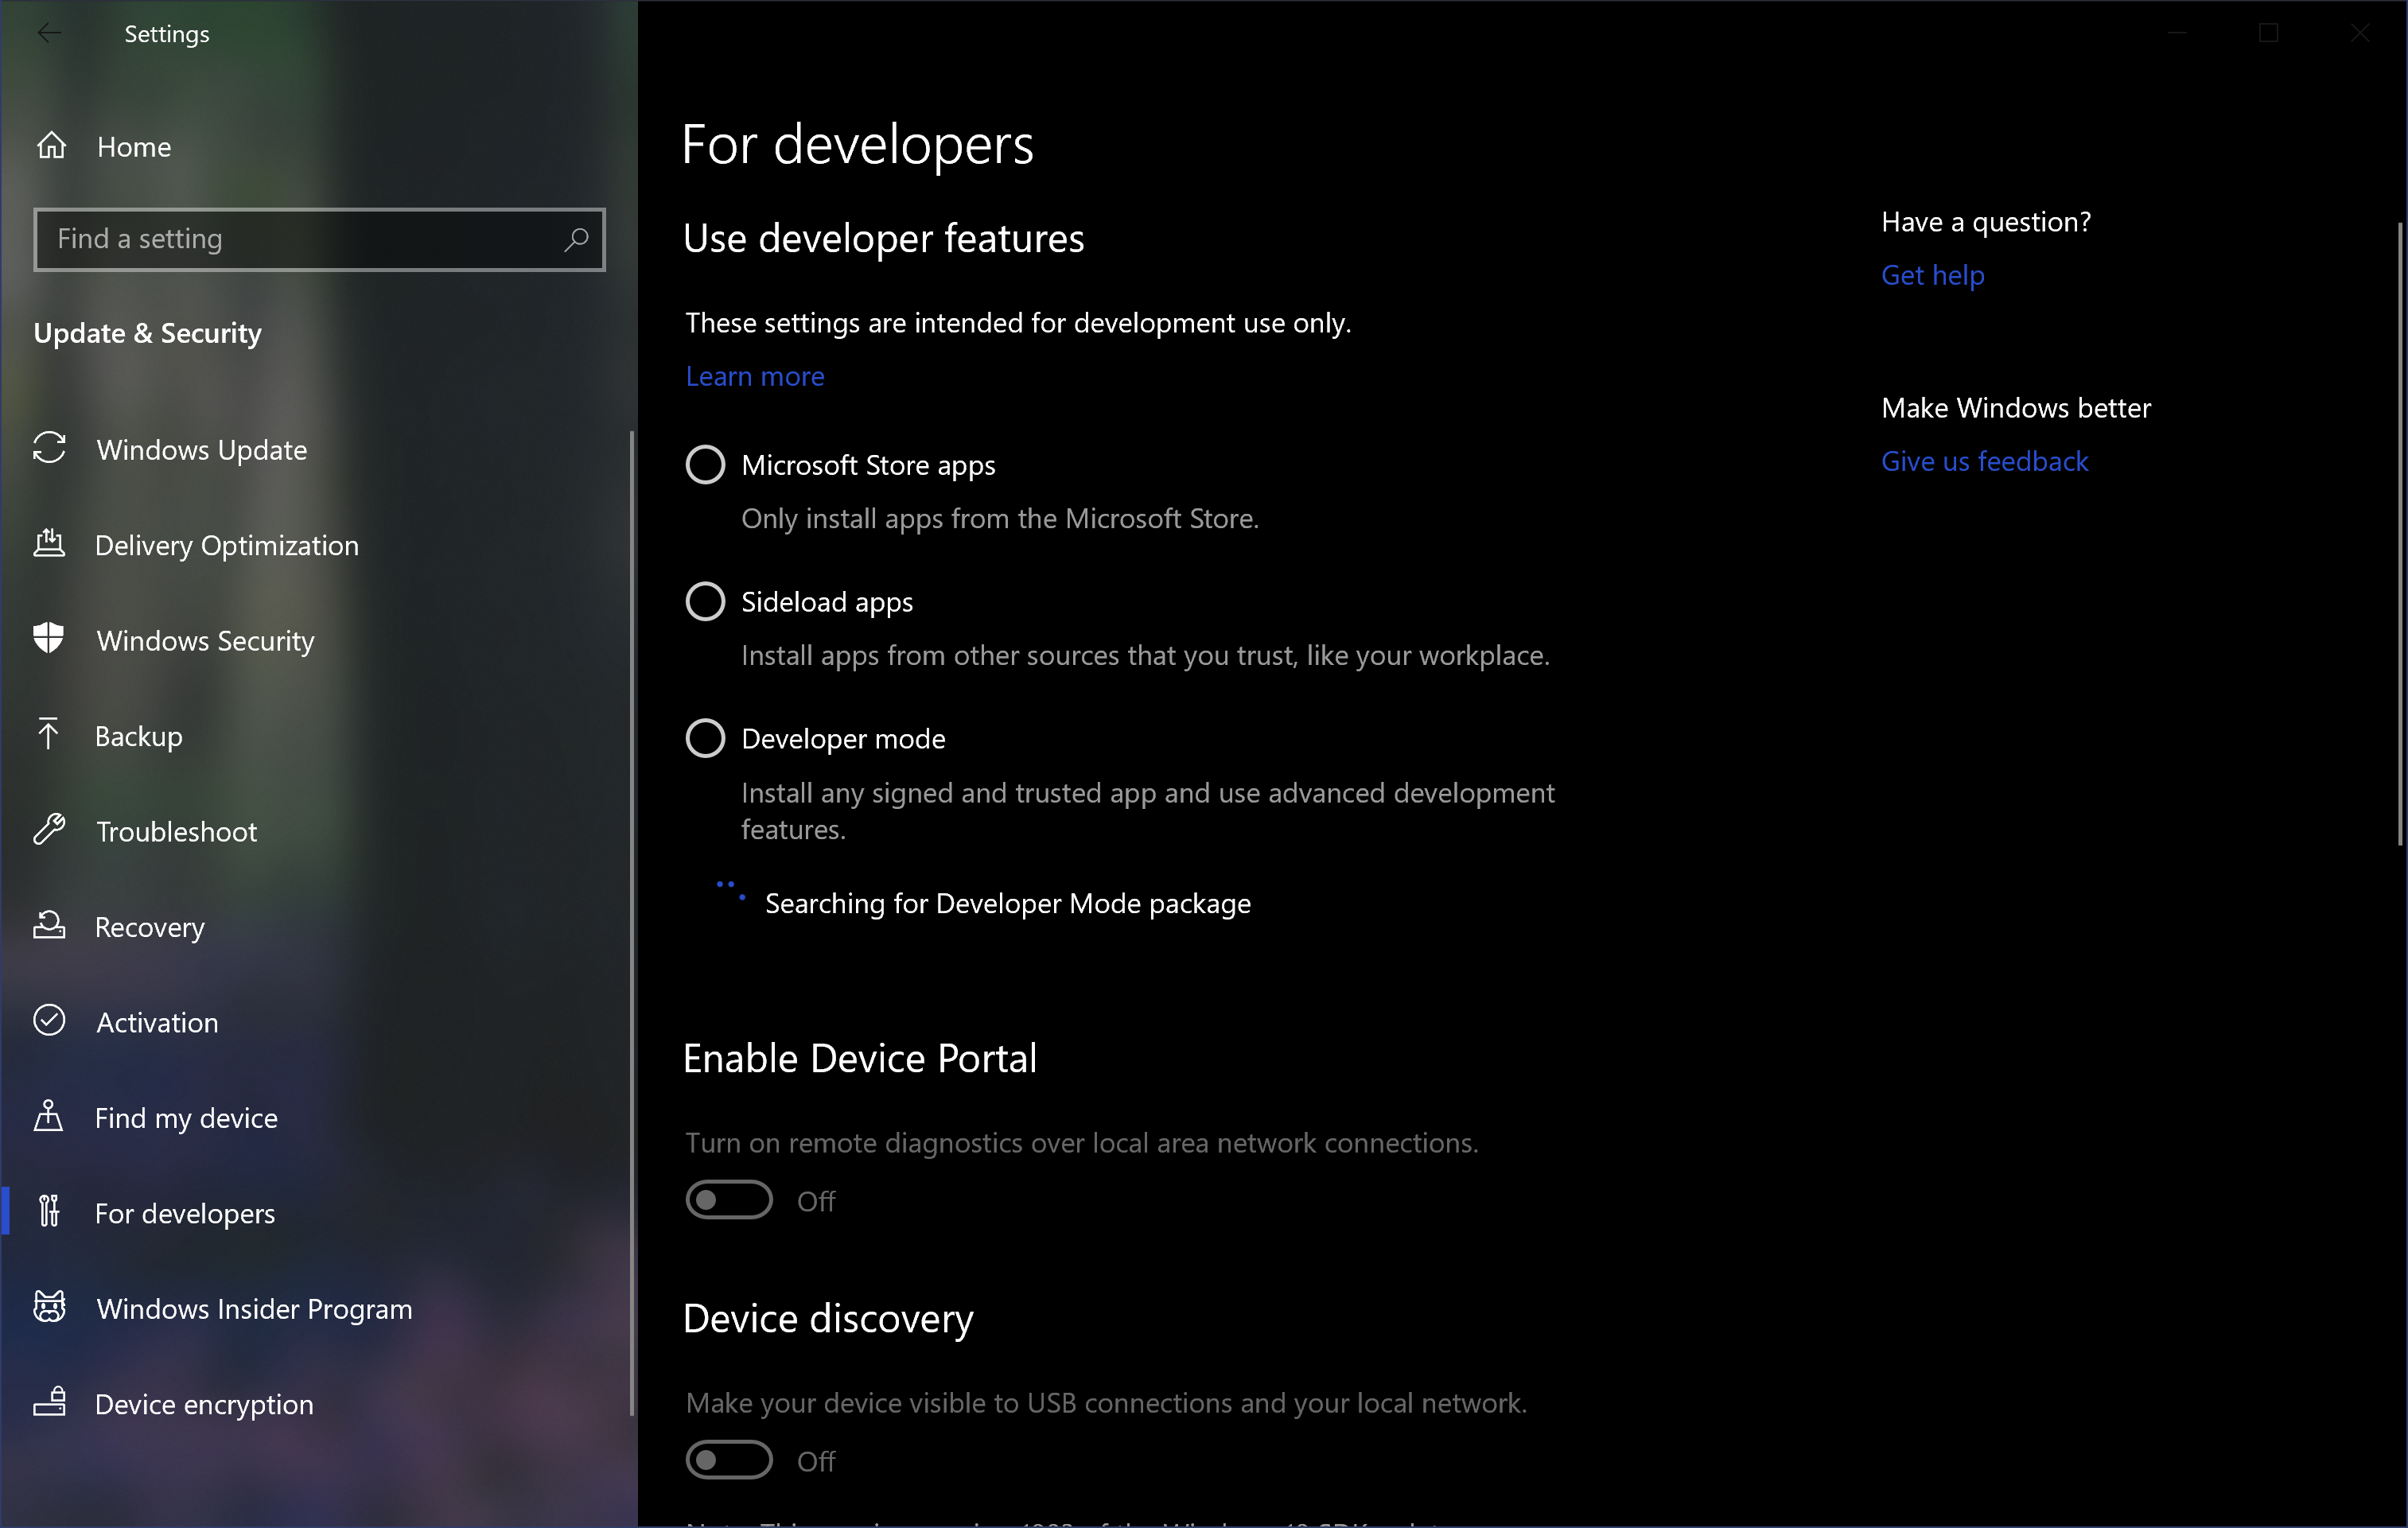
Figure 5. Searching for Developer Mode package
When Developer mode has been enabled, you should see something like Figure 6.
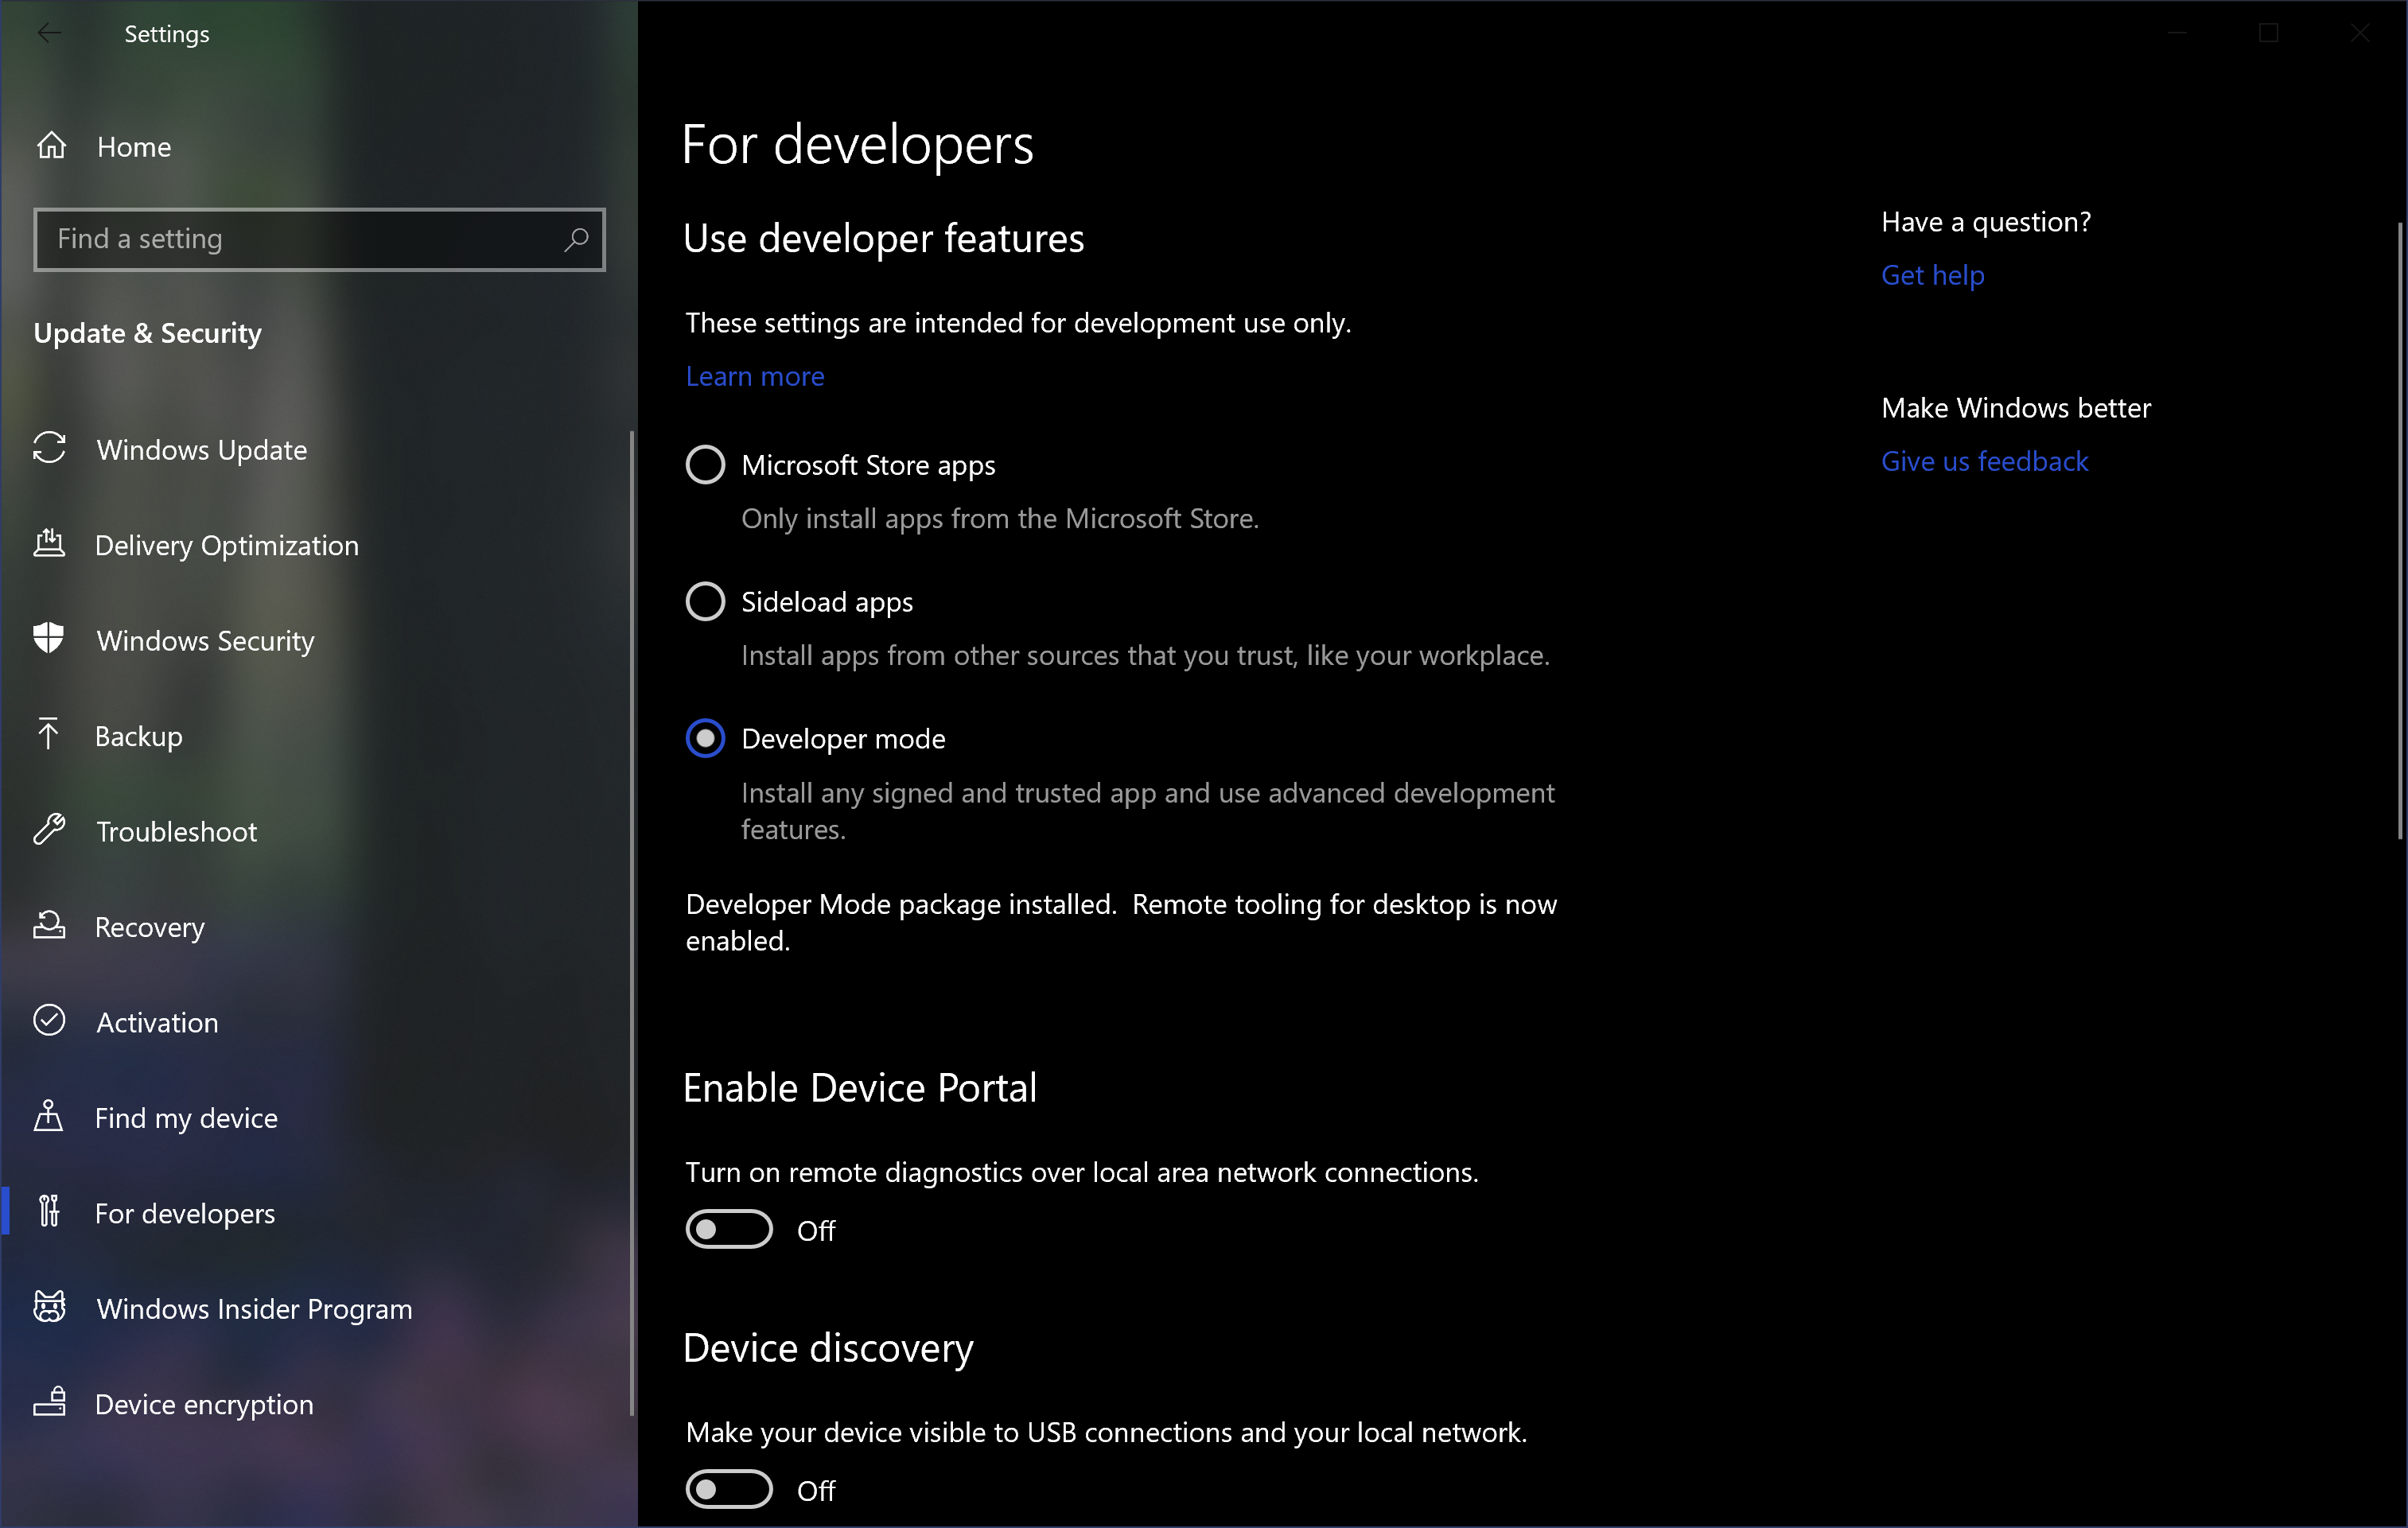
Figure 6. Developer mode enabled
2. Enable Windows Subsystem for Linux
Open the Control Panel and click on Programs and Features as seen in Figure 7.

Figure 7. Programs and Features in Control Panel
Notice that the view setting is Small icons. If you are using the default view Category, you can click Programs then Turn Windows features on or off and skip the next step.
Click on Turn Windows features on or off as seen in Figure 8.
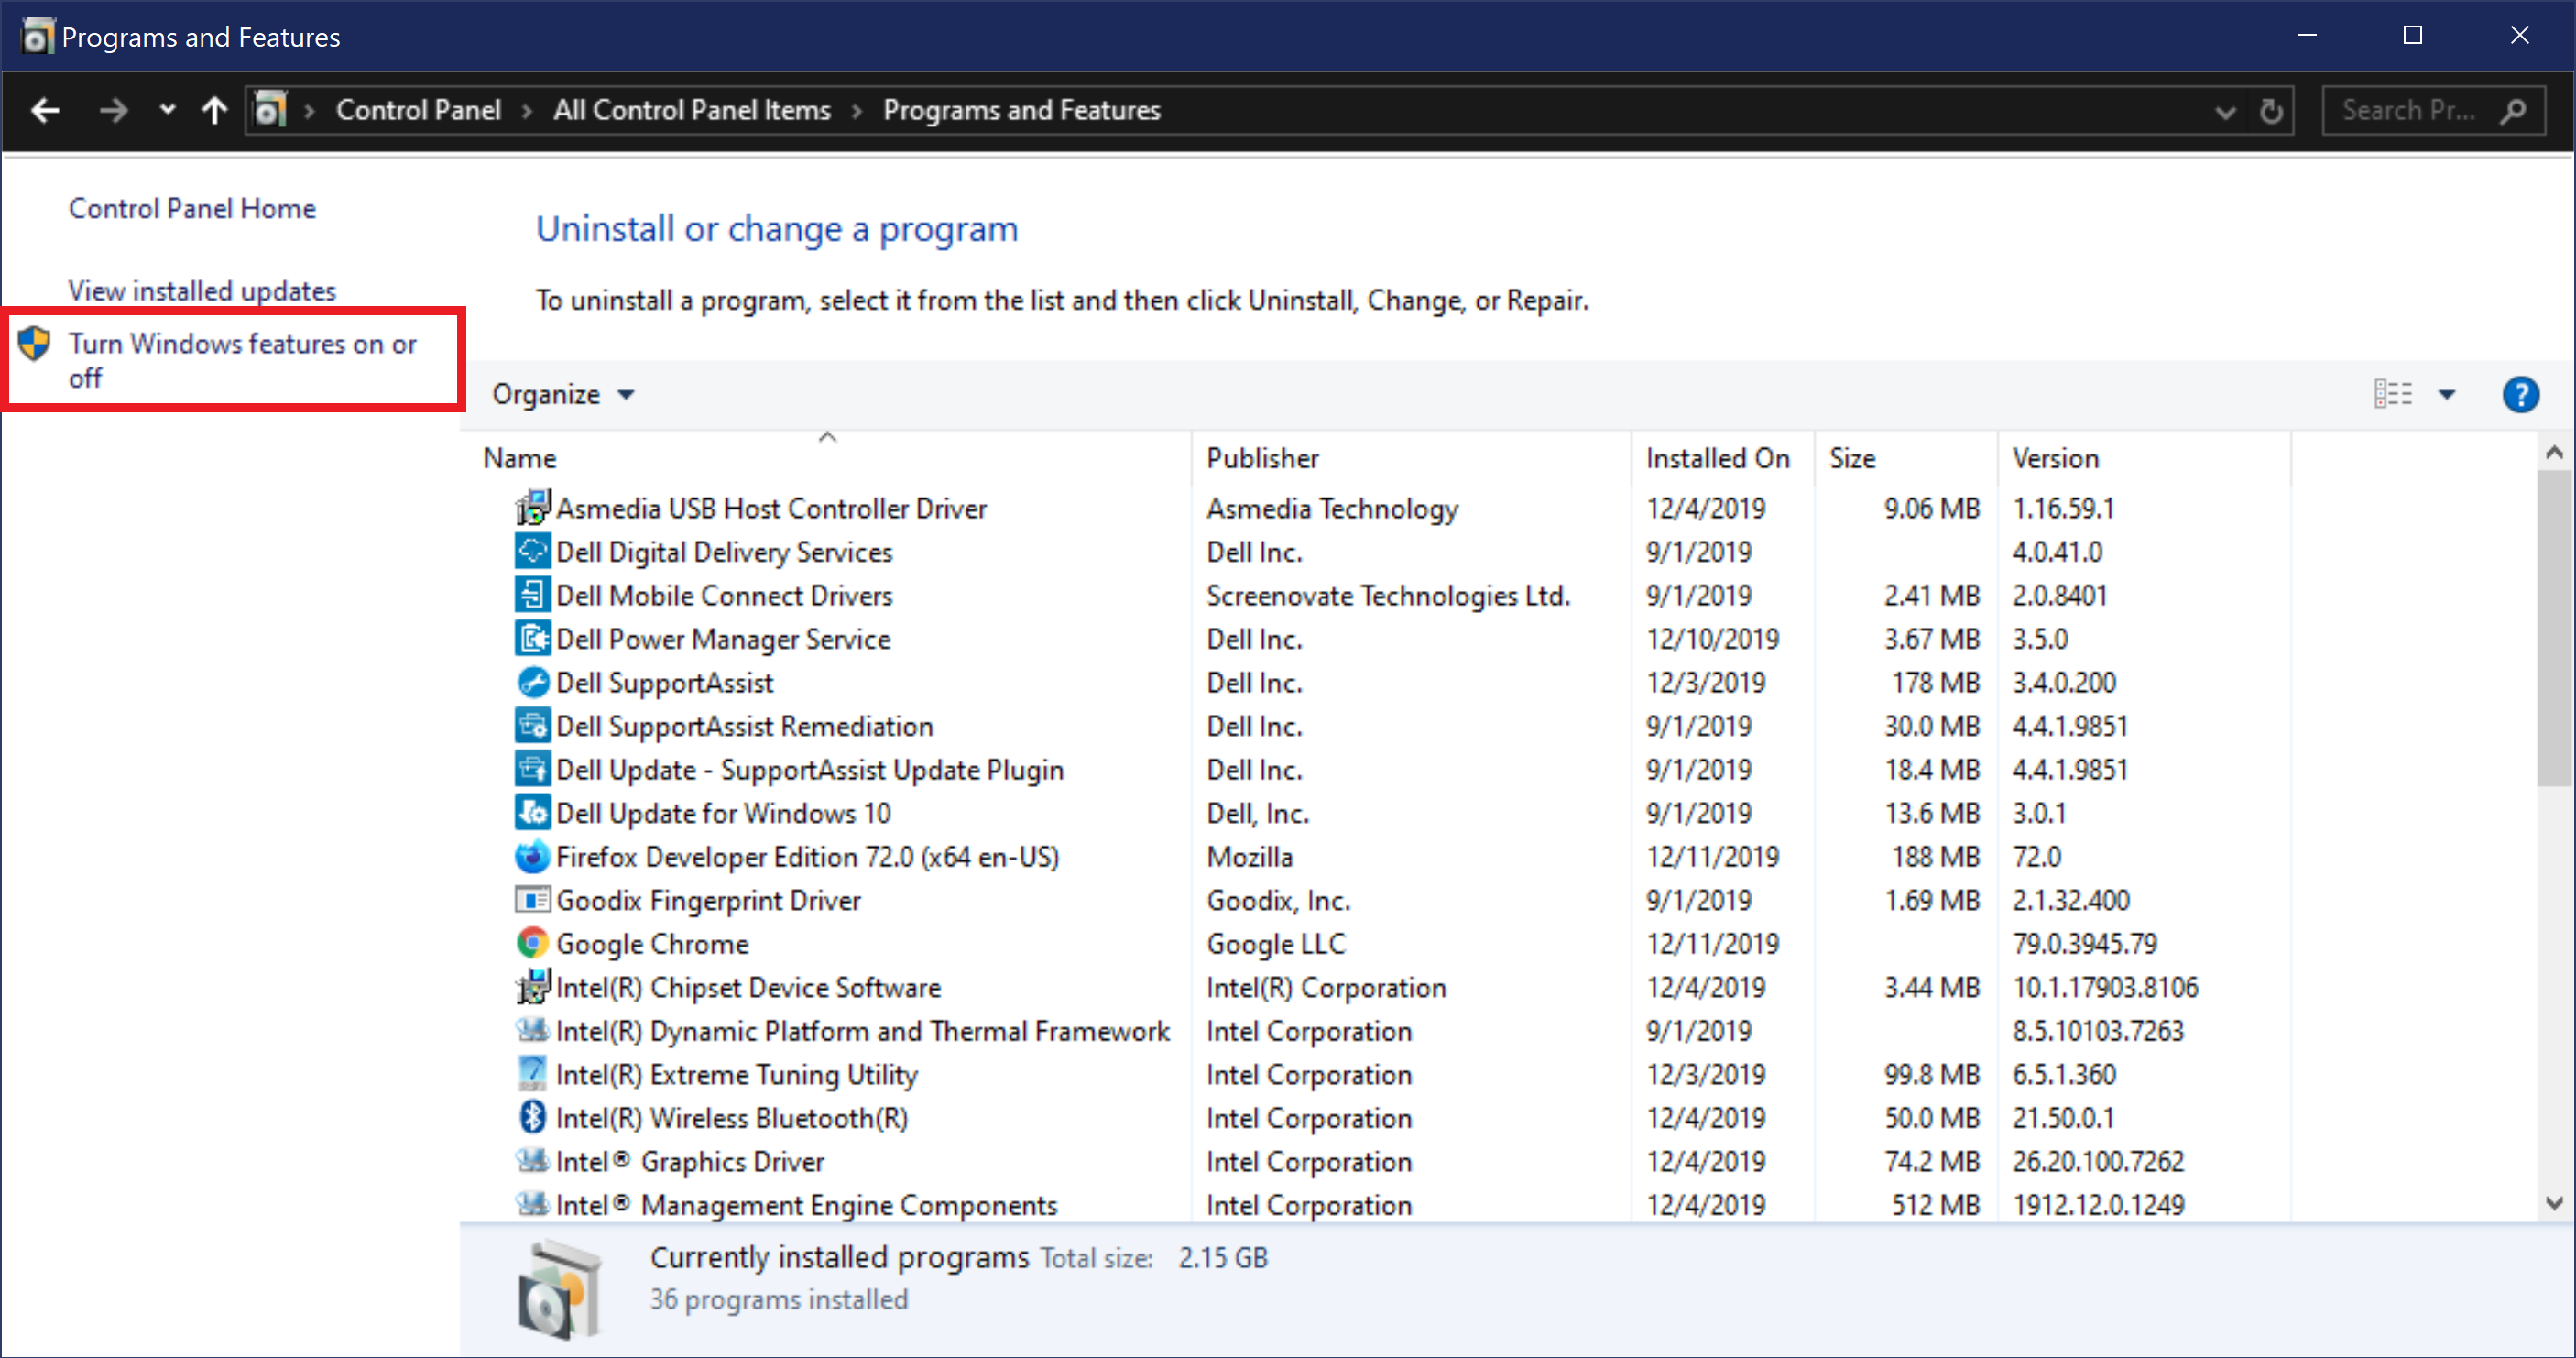
Figure 8. Turn Windows features on or off
Scroll to the bottom and check the box for Windows Subsystem for Linux as seen in Figure 9.
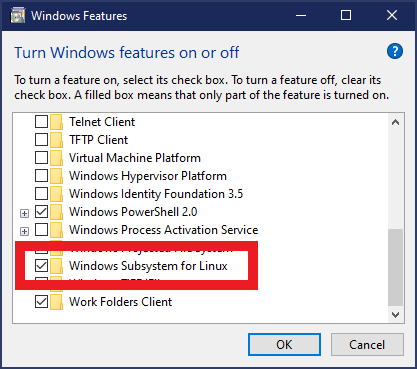
Figure 9. Windows Subsystem for Linux checkbox
Click Restart now in the window that pops up as seen in Figure 10.
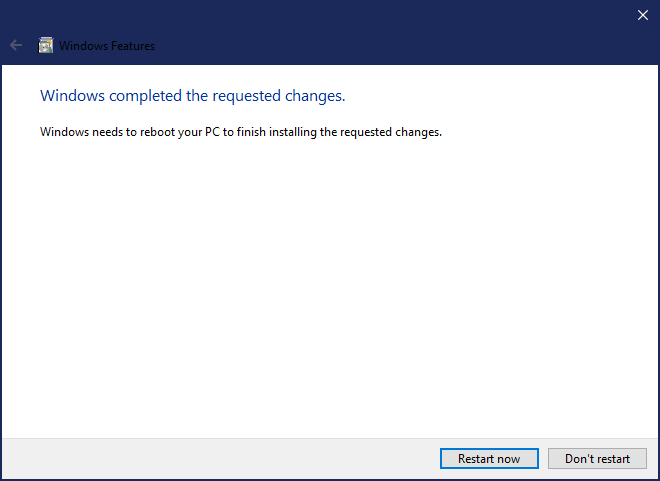
Figure 10. Restart confirmation
3. Install Ubuntu Linux
After your computer has restarted, open the Microsoft Store app and search for Ubuntu. When the results appear, select the “Ubuntu” app as seen in Figure 11. Do not install one of the versioned Ubuntu apps.
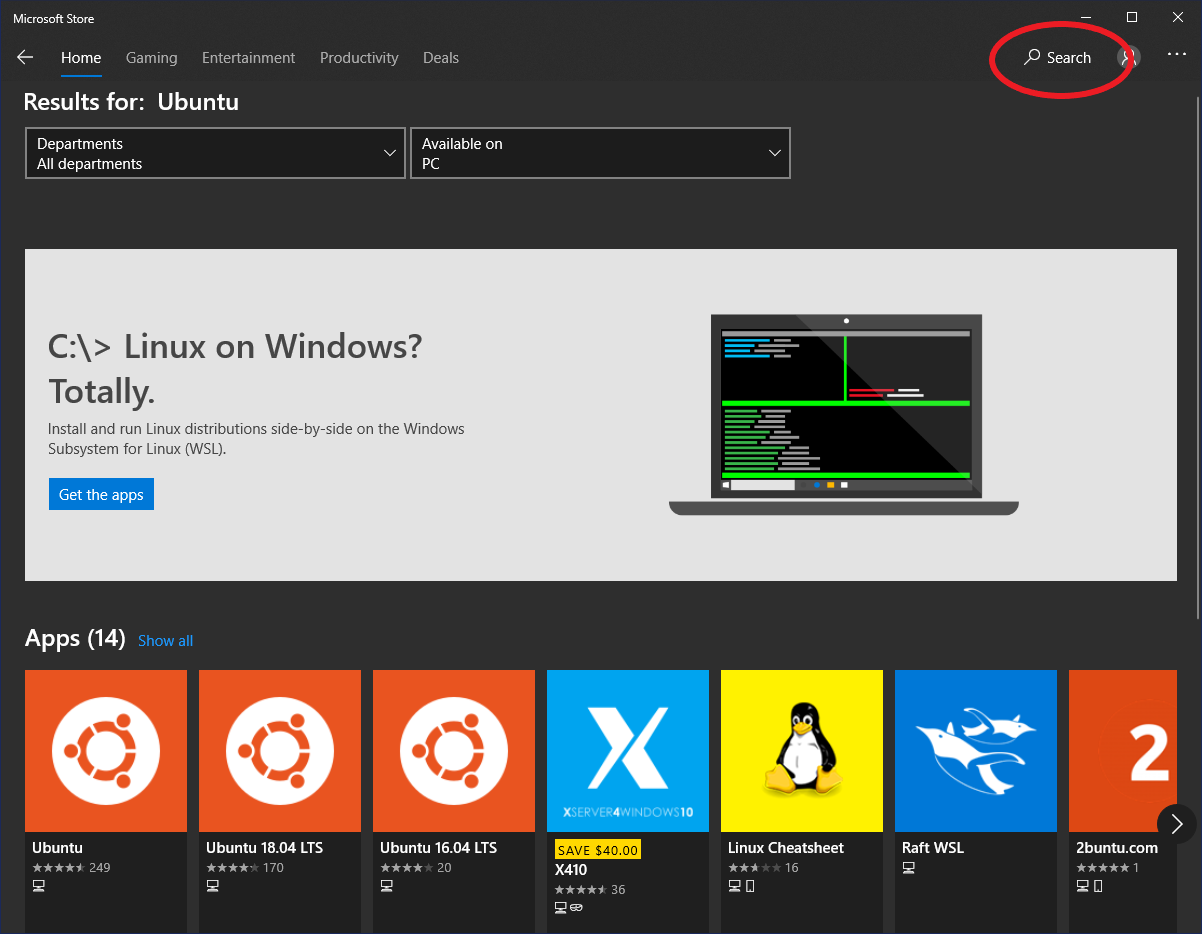
Figure 11. Find Ubuntu in Microsoft Store
Click on Install as seen in Figure 12.

Figure 12. Install Ubuntu
When the installation completes, click on Launch as seen in Figure 13.
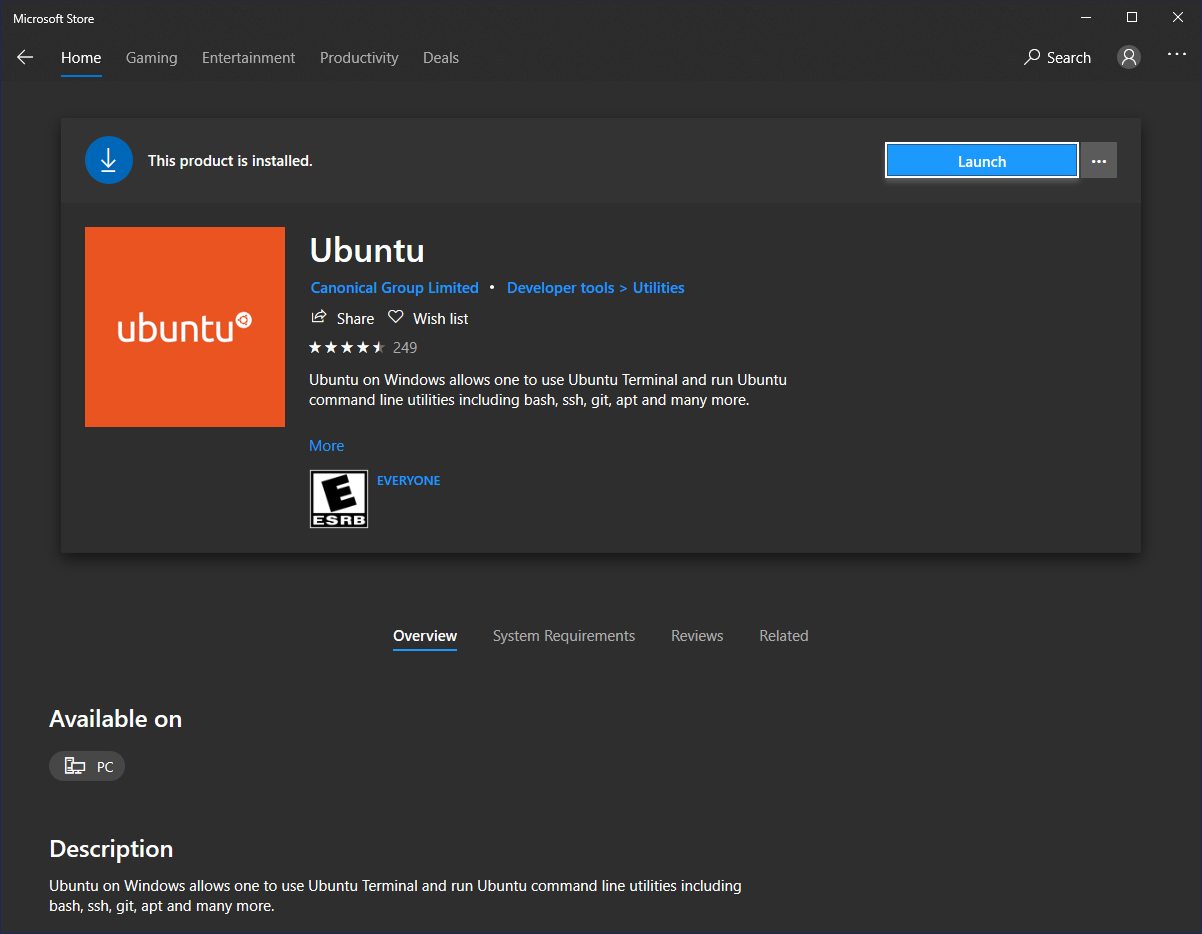
Figure 13. Launch Ubuntu
In the terminal that opens, enter a username and then a password that you will remember as seen in Figure 14.
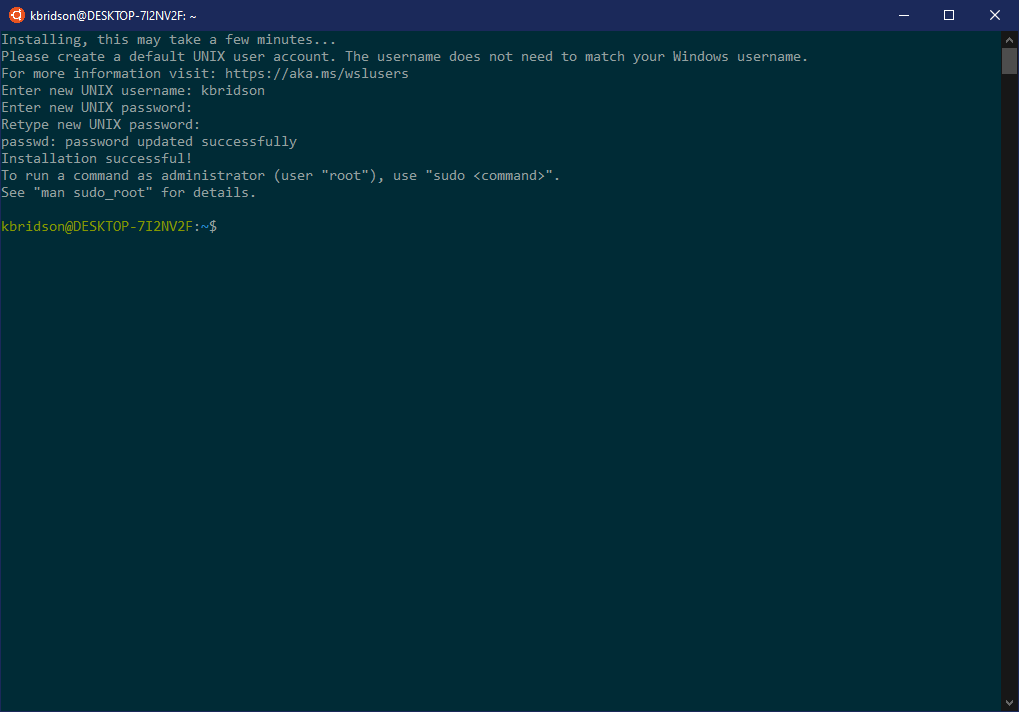
Figure 14. Ubuntu root user setup
You may close the terminal window when you are finished. You may reopen this terminal by starting the Ubuntu app, or you can go on to install the new Windows Terminal app (recommended).
4. Install the Windows Terminal App
In the Microsoft Store, search for the Windows Terminal (Preview) app, install it, and then launch it as seen in Figure 15.

Figure 15. Launch Windows Terminal from Microsoft Store
Open a new WSL Ubuntu terminal by clicking the dropdown and selecting Ubuntu as seen in Figure 16.
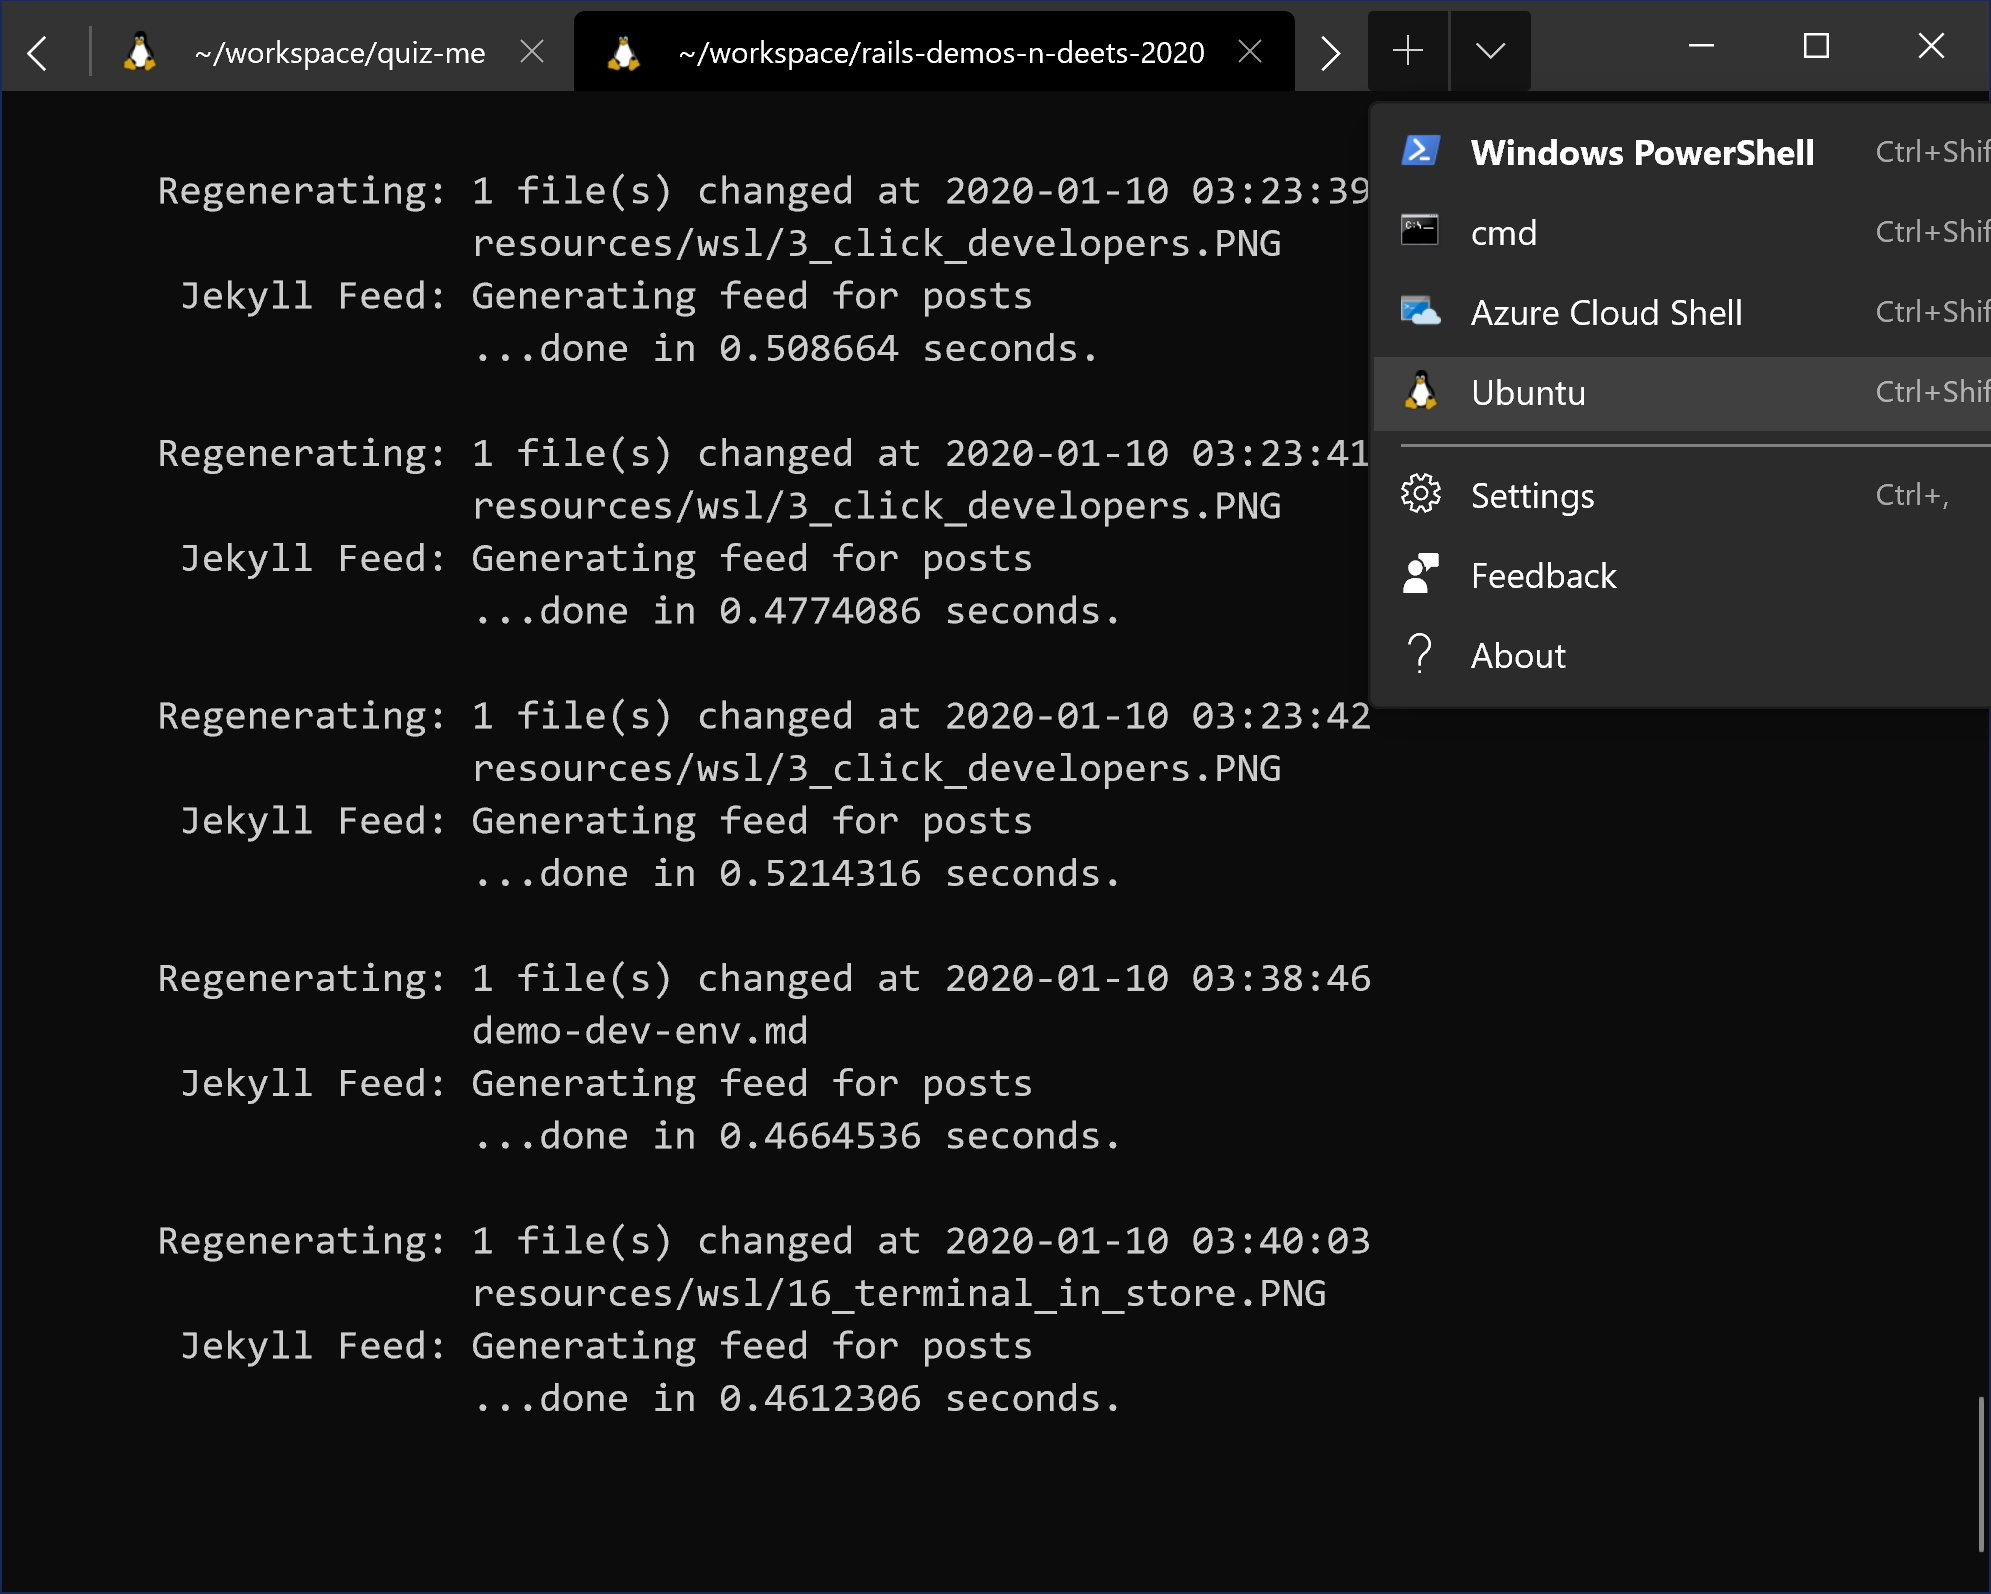
Figure 16. Open a new Ubuntu terminal tab
You can also open other types of terminals like Powershell and the older Command Prompt.