Adding (Mostly Static) Webpages
In this demonstration, I will show how to create mostly static webpages in Rails. We will continue to build upon the QuizMe project from the previous demos.
1. Adding a Welcome Page
We will start by making the Welcome page depicted in Figure 1.
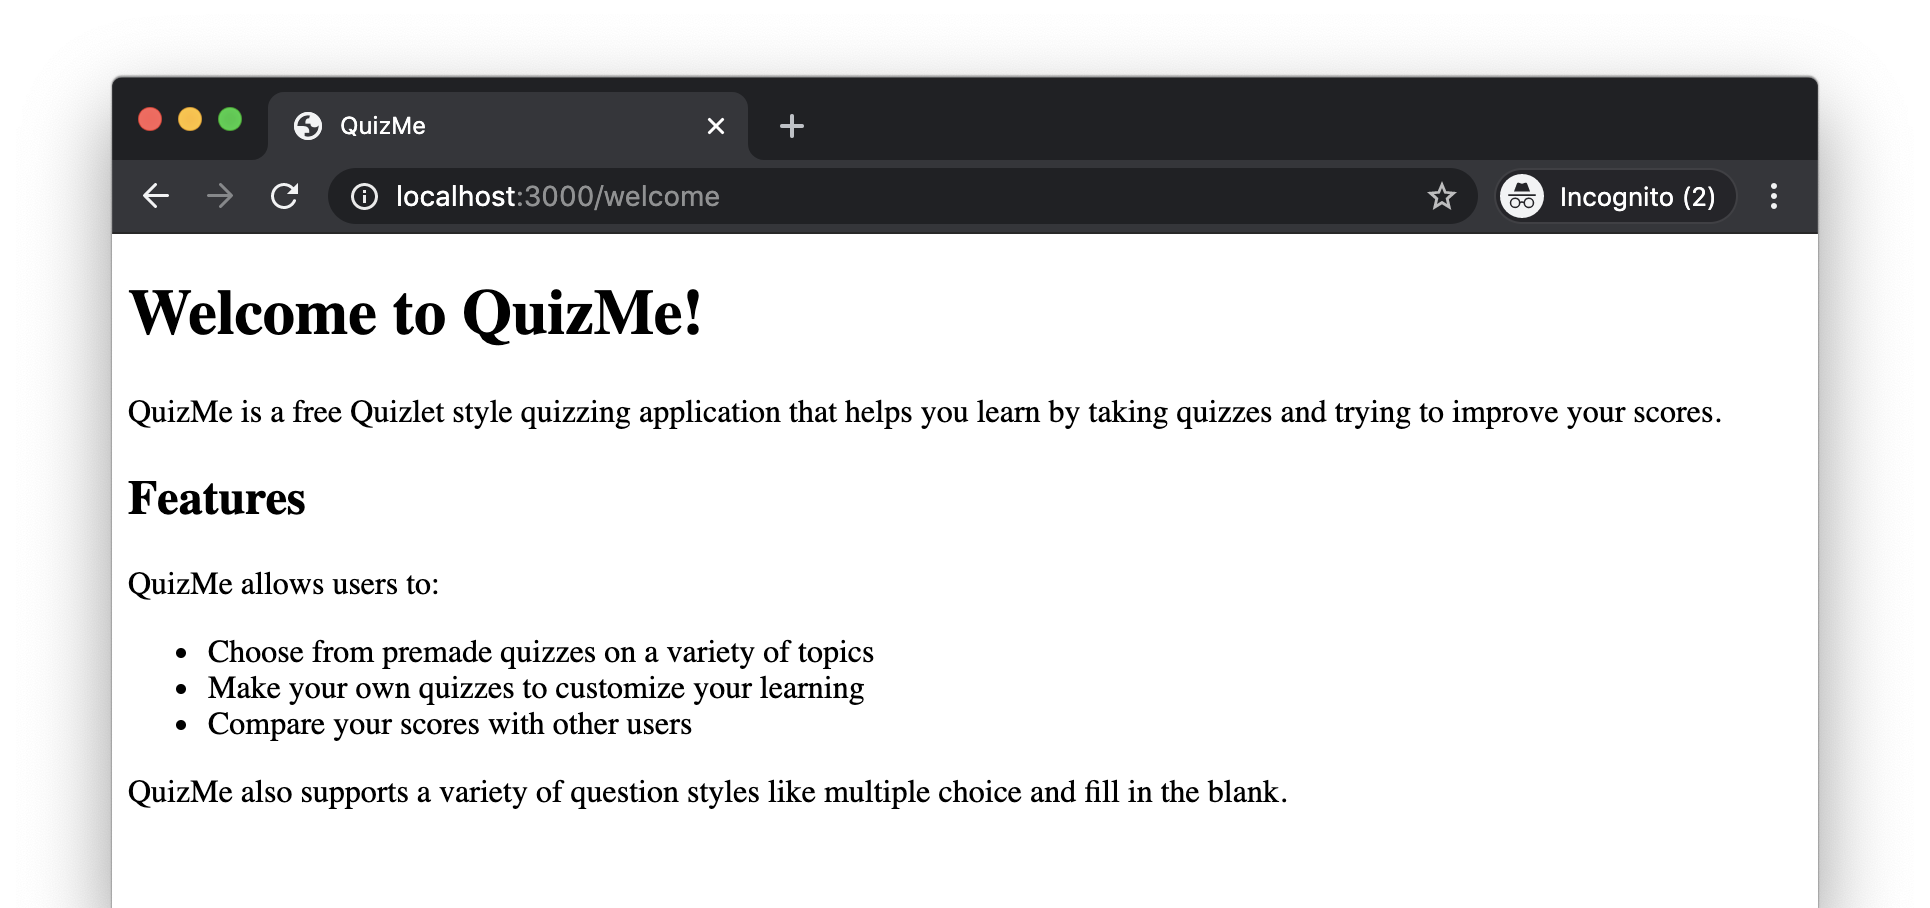
Figure 1. The QuizMe Welcome page.
Based on the Rails MVC model, there are three things needed to set up a page in a Rails project. You need (1) a controller action (a public method inside a controller class) which renders (2) an html.erb view file containing the html code for the page. You also need (3) a route in the routes.rb file which links the URL for the page with the controller action.
-
Generate the controller class, a controller action inside that class, and a template view file by entering the following command:
rails g controller StaticPages welcomeYou should see that the files
app/controllers/static_pages_controller.rbandapp/views/static_pages/welcome.html.erbhave been created, along with some other files we will use later. -
Looking at the
app/controllers/static_pages_controller.rbfile, a methodwelcomehas been created, but it is empty. Modify this method to explicitly render thewelcome.html.erbview by adding arespond_toblock with arenderstatement to match:def welcome respond_to do |format| format.html { render :welcome } end endMore details about this code…▼
The
respond_toblock allows you to specify different responses to generate based on the type of data the request is looking for. For now, the requests will only be expecting HTML responses, but common alternatives are Javascript and JSON. -
Looking at the
config/routes.rbfile, aget(as in HTTP GET request) route to'static_pages/welcome'has been created, meaning the URL for the page would be http://localhost:3000/static_pages/welcome. Instead, make the route point to http://localhost:3000/welcome by editing it as follows:get 'welcome', to: 'static_pages#welcome', as: 'welcome'More details about this code…▼
Route syntax looks a little confusing until you get the hang of it. The first part,
get 'welcome'tells the Rails router to accept GET requests to the URL formed by concatenating the site root (for nowhttp://localhost:3000) with a slash (/) followed by the page-specific path in quotes (welcome).The `to` argument tells the router which controller action should be called when it receives such a GET request. Note that routes use the shorthand "
static_pages#welcome" to refer to the methodwelcomein theStaticPagesControllerclass.The `as` argument automatically generates the helper methods
welcome_pathandwelcome_url, which return the relative path and the full URL for this route, respectively. You should use these helpers in your code instead of hard-coding paths. For example, the system root could change (e.g., if the app was deployed to Heroku or was running on a port other than 3000), and using these helpers will save you from having to search for and update all the hard-coded URLs spread throughout your code. -
Verify that he page displays properly by starting the Rails server (
rails s) and navigating to http://localhost:3000/welcome. You should see some automatically generated text telling you what controller, controller action, and view file were used.As we begin customizing the this text, you can keep the Rails server running, reloading the page to view changes as you make them.
-
Start by replacing the generated text in
app/views/static_pages/welcome.html.erbwith a large heading that says “Welcome to QuizMe!”, using the following code:<h1>Welcome to QuizMe!</h1>More details about this code…▼
The
<h1>tag is usually used for page titles and only once per page. -
Add a description of the QuizMe app under the welcome header, using the following code:
 <p>
   QuizMe is a free Quizlet style quizzing application that helps you learn by taking quizzes and trying to improve your scores.
 </p>
More details about this code…▼
The
<p>tag is used for blocks of paragraph text. -
Finally, add a list of features the QuizMe app will have, using the following code:
 <h2>Features</h2>

 <p>
   QuizMe allows users to:
 </p>

 <ul>
   <li>Choose from premade quizzes on a variety of topics</li>
   <li>Make your own quizzes to customize your learning</li>
   <li>Compare your scores with other users</li>
 </ul>

 <p>
   QuizMe also supports a variety of question styles like multiple choice and fill in the blank.
 </p>
More details about this code…▼
The
<h2>tag is usually used for the first level of subheadings.The
<ul>tag is usually used for bulleted lists. The text for each bullet point must be enclosed in its own<li>tag. You can replace the<ul>tag with<ol>to make a numbered list.The Welcome page should now look like Figure 1.
2. Adding an About Page
We will now add an additional About page (to which we can link in later demo), as depicted in Figure 2.
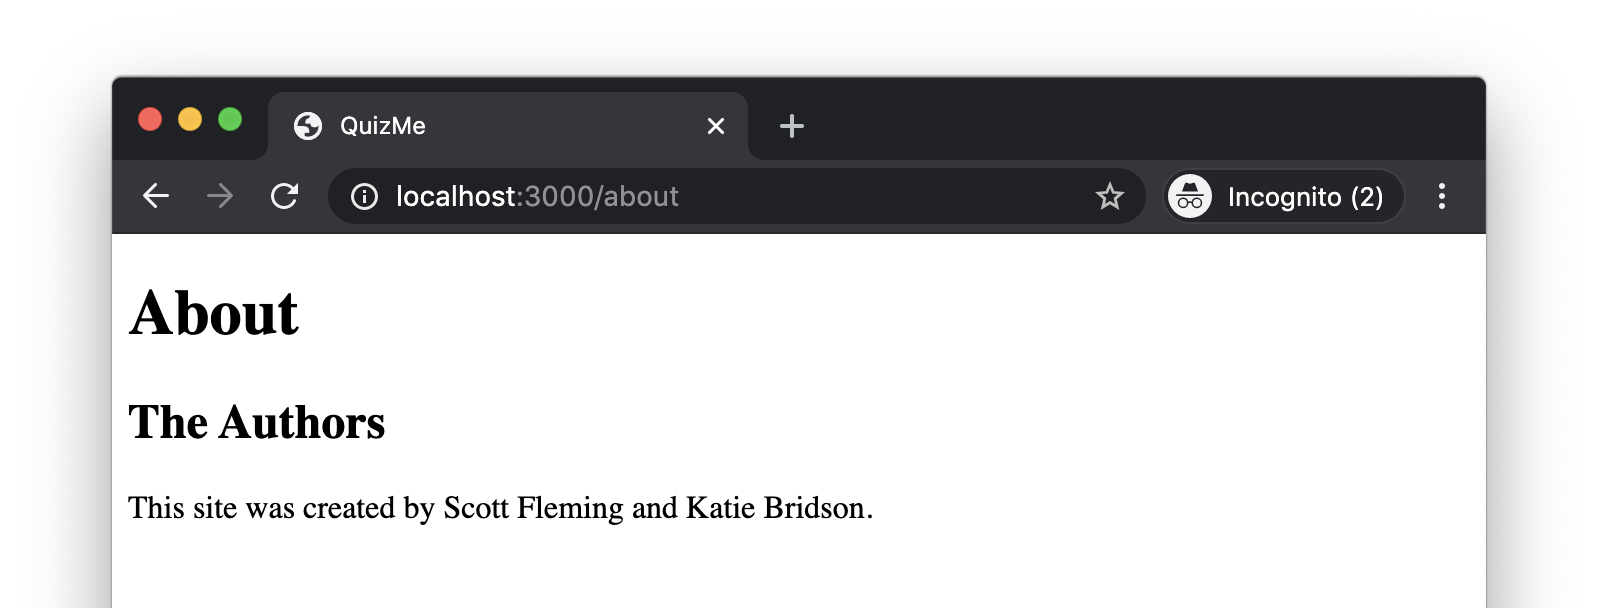
Figure 2. The QuizMe About page.
-
Set the route to point to an
aboutmethod in theStaticPagesControllerand to have the URL be http://localhost:3000/about by adding the following code toconfig/routes.rb:get 'about', to: 'static_pages#about', as: 'about' -
Add the following
aboutmethod to theStaticPagesController:def about respond_to do |format| format.html { render :about } end end -
Create a new file
app/views/static_pages/about.html.erband add the following to it:<h1>About</h1> <h2>The Authors</h2> <p>This site was created by Scott Fleming and Katie Bridson.</p>Verify that the About page appears as in Figure 2 by opening http://localhost:3000/about in the browser.
We now have a couple simple pages to work with! Next, let’s see how to add images to pages.