Displaying All Model Records
In this demonstration, I will show how to create a so-called index page that displays all the model records from a particular database table on a webpage. We will continue to build upon the QuizMe project from the previous demos.
In particular, we will add an index page to the QuizMe app that displays all the McQuestion records stored in the database, as depicted in Figure 1.
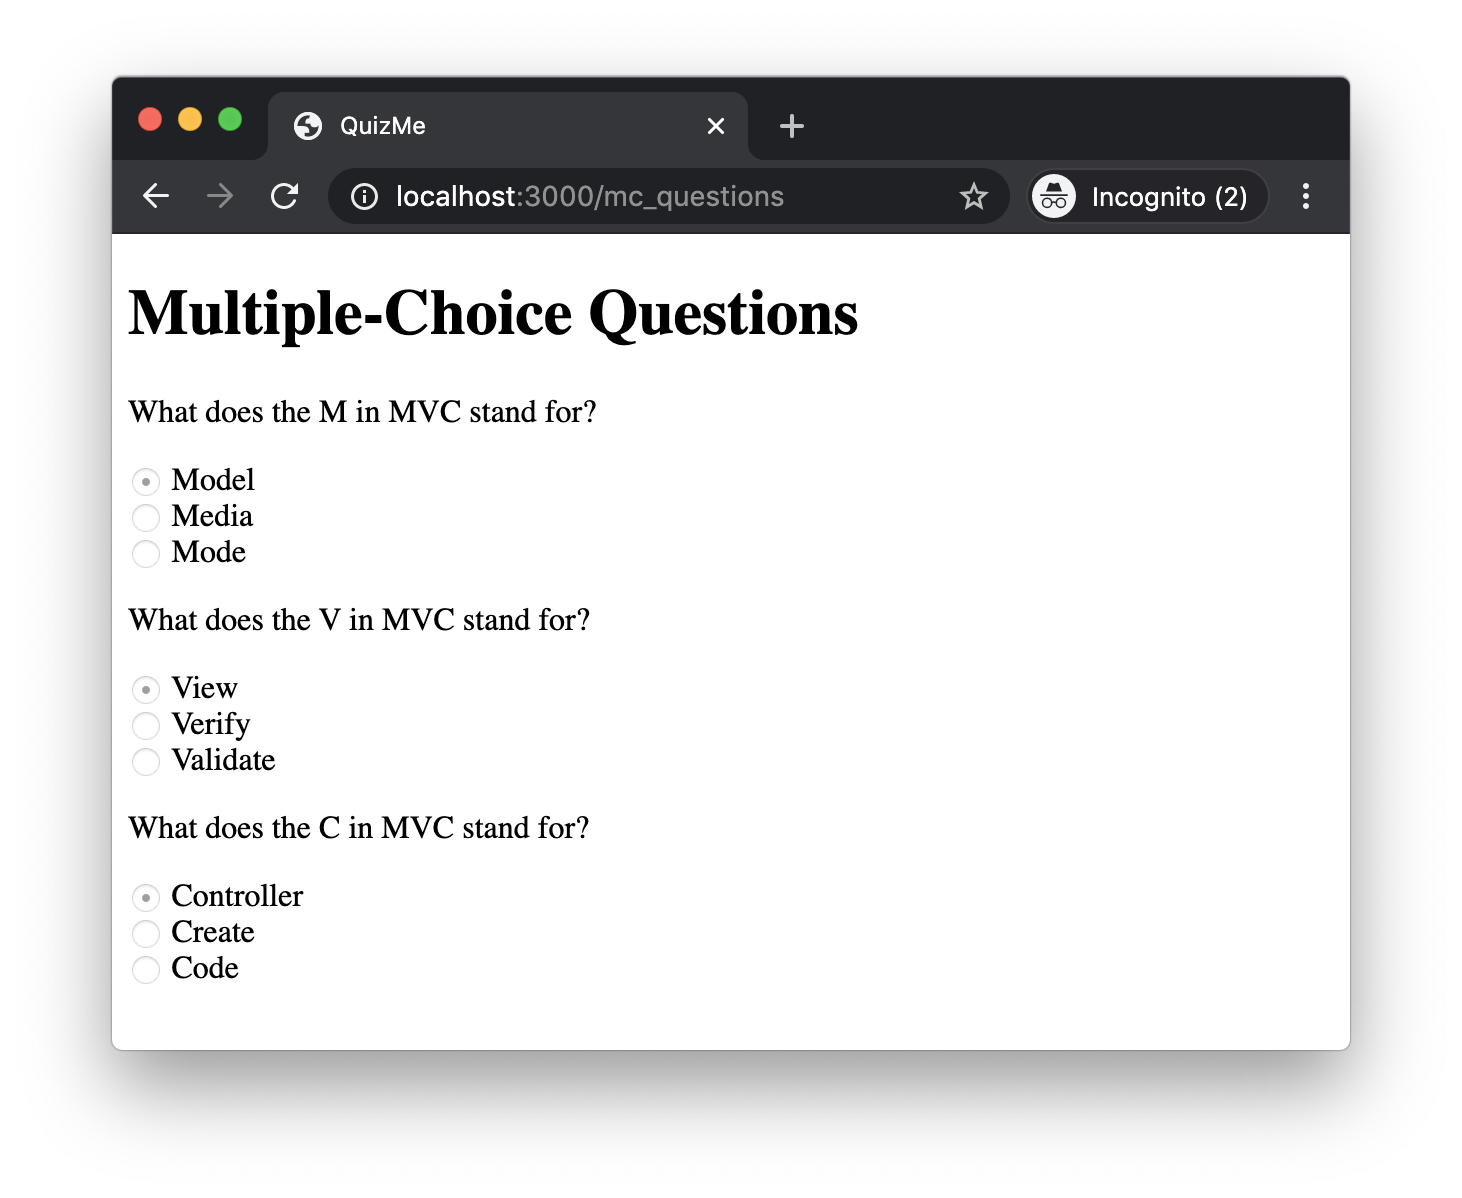
Figure 1. The index page for McQuestion records.
Adding this index page will involve several key steps:
- Creating a controller class for
McQuestionrecords. This controller will contain actions for displaying and manipulatingMcQuestionrecords. Although this demo will focus only on theindexaction, we will add more actions to the controller in future demos. - Adding an
indexroute forMcQuestionrecords that translates HTTP requests for theindexpage into invocations of the appropriate controller action. - Adding an
indexcontroller action forMcQuestionrecords that, when invoked, will retrieve all theMcQuestionrecords from the database and will render the appropriate view, passing in the retrieved records for the view to display. - Adding an
indexview forMcQuestionrecords that will render a webpage containing a table of whateverMcQuestionrecords are passed to the view.
1. Creating a Controller for McQuestion Records
Generate a controller for McQuestion objects by running the following command:
rails g controller McQuestions
This command generates the file app/controllers/mc_questions_controller.rb, which contains the class McQuestionsController.
Caution! A controller that corresponds to a model class always has a name that is the plural form of the model class name. Thus, the McQuestion model class has a corresponding McQuestionsController. Also, note that the Controller part of the controller class name is omitted in the above Rails command. Rails will automatically fill in the Controller part of the name.
Note! The g in the above command is short for generate. The rails command accepts both g and generate, and moving forward, we will favor the g version for brevity.
2. Adding an index Route for McQuestion Records
In routes.rb, add a standard resource route for the index action of the McQuestionsController class, like this:
get 'mc_questions', to: 'mc_questions#index', as: 'mc_questions' # index
3. Adding an index Controller Action for McQuestion Records
In this part, we will add an index action to the McQuestionsController class. This is the “to:” action specified in the above route and will be called whenever an incoming HTTP request matches that route.
To begin with, add the index action, including a respond_to block, like we’ve seen in previous demos:
def index
    respond_to do |format|
        format.html { render :index }
    end
end
Unlike the previous controller actions we’ve seen, this one will also need to retrieve model objects from the database and pass those objects to the view for rendering as HTML.
Retrieve all the McQuestion objects stored in the database by inserting this line before the respond_to block in the index action:
questions = McQuestion.all
The all method is one of the model methods provided by Rails, and it retrieves all the saved records of the designated model type (in this case, all the McQuestion records).
Once the McQuestion objects have been retrieved, they will need to be passed to the view for rendering.
Add the locals hash as an argument to the call to render (like we’ve done in a previous demo) to pass the retrieved McQuestion objects to the view, like this:
format.html { render :index, locals: { questions: questions } }
4. Adding an index View for McQuestion Records
The index view should display some data for each of the records in the associated database table. Often, index views will display the database table in an HTML table element, with a row for each record and a column for each of the record attributes; however, we will direct you to pgAdmin’s show-all-records feature for that sort of visualization. In this demo, we will instead display all the McQuestion objects on one page in a manner more germane to multiple-choice questions, as depicted in Figure 1.
To start with, create a file app/views/mc_questions/index.html.erb for the view.
Add the heading to the top of the view, like this:
<h1>Multiple-Choice Questions</h1>
Recall from the index controller action’s call to render that we used the locals hash to pass a questions variable to the index.html.erb view that contains all the McQuestion objects in the database. We can now use that questions variable in our view code to access the McQuestion objects.
Loop through the array of McQuestion objects and print “TODO” for each one by inserting the following code below the heading:
<% questions.each do |question| %>
    TODO
<% end %>
Running the app now should display the heading following by “TODO TODO TODO“—one TODO for each question.
Now, replace the TODO placeholder with the text of the question, like this:
<% questions.each do |question| %>
    <p><%= question.question %></p>
<% end %>
Running the app now should display the text for each question in the database.
We still need to display the answer choices, though. For the answers choices, we’ll use a radio button widget.
Display the answer options as radio buttons by updating the each loop, like this:
<% questions.each do |question| %>
    <div id="<%= dom_id(question) %>">
        <p><%= question.question %></p>
        <% choices = [question.answer, question.distractor_1, question.distractor_2] %>
        <% choices.each do |c| %>
            <div>
                <%= radio_button_tag "guess_#{question.id}", c, checked = c == question.answer, disabled: true %>
                <%= label_tag "guess_#{question.id}_#{c}", c %>
            </div>
        <% end %>
    </div>
<% end %>
There are several things to note here. First, we wrapped the whole question and answer options in a div element with a unique id. This div with id is to enable JavaScript code for processing answer selections that we will add in subsequent demos. Second, we put all the answer options into a single choices array, and then iterated through that array, printing a radio button option for each possible answer. The rationale for putting the answers into an array is that it will make it convenient later to shuffle the answers. Third, we wrapped each radio button option in a div element to achieve a vertical layout. Finally, note how we have applied the radio_button_tag API:
- We need to make sure the buttons are all disabled, since we are not ready to worry about submitting answers to questions yet. To disable each option, we used
disabled: truetrue argument toradio_button_tag. - We need to be sure that only the correct answer is checked by setting the
checkedoption to be true only for the radio button selection that has the correct answer. We know thecheckedoption should be true only ifcisquestion.answer, so we can actually setcheckedequal to the the boolean result of the conditional expressionc == question.answer. - To specify what values would be sent back to the server if a selection were to be submitted, we must assign some identifying IDs. For the unique
radio_button_tagandlabel_tagIDs, we use string interpolation to execute some ruby code and put it inside the string (e.g.guess_#{question.answer}).
The QuizMe app now provides a page that displays all the multiple-choice questions (index) at the URL http://localhost:3000/mc_questions, as depicted in Figure 1. Next, we will see how to add pages such that each page displays an individual multiple-choice question (show).