Adding Images to Pages
In this demonstration, I will show how to display images on pages. We will continue to build upon the QuizMe project from the previous demos.
Webpages with only unstyled text are not very nice to look at, so for now, we will add a little color with the quiz graphic depicted in Figure 1.

Figure 1. A quiz graphic.
In particular, we will add the image to the Welcome page, as depicted in Figure 2. We will add additional style formatting to the app later.
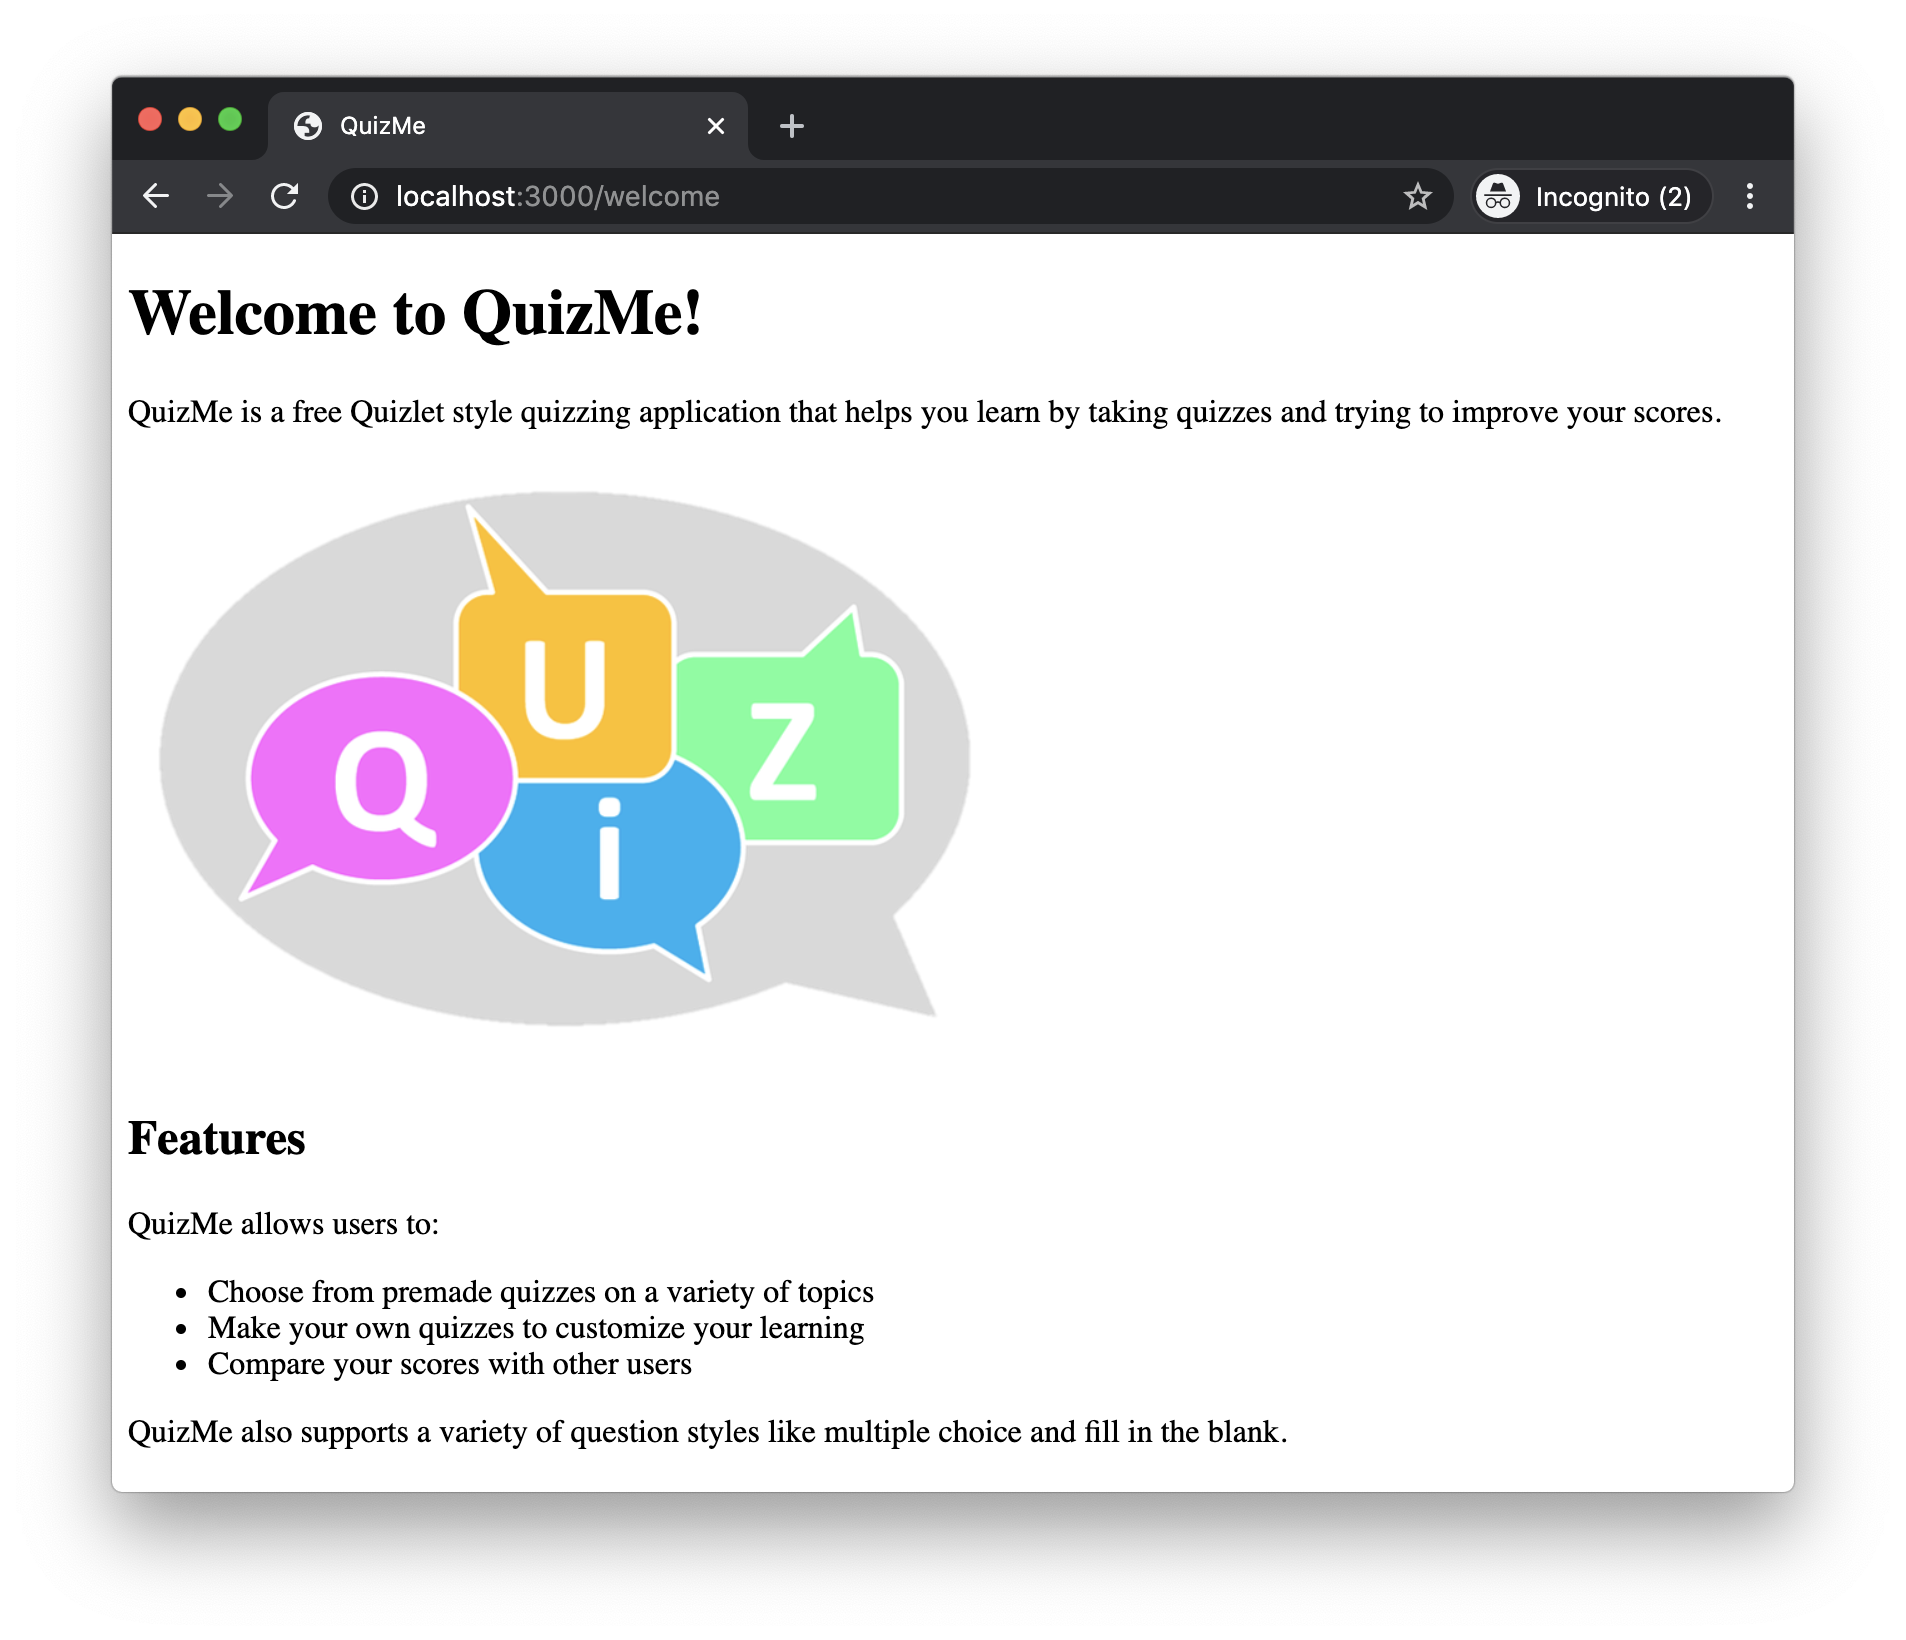
Figure 2. The QuizMe Welcome page with quiz graphic.
-
Start by downloading the image file using the link above and save it to the project’s
app/assets/imagesfolder. All files in theassetsdirectory get compiled by the server and require Rails helper methods to reference the correct file. -
Add the image to the page using the
image_taghelper method by adding the following code to the top of thewelcome.html.erbfile:<%= image_tag "quiz-bubble.png", height: 300 %>More details about this code…▼
The original size of the image is about 700x480px. You can scale it down but keep the original aspect ratio by setting only the height or the width argument. The values are in pixels.
The `html.erb` file is used to render plain old HTML code to be sent in HTTP responses. To render the response HTML, each line in the `html.erb` is written into the response. The
<% %>and<%= %>tags are exceptions. Both contain Ruby code. Rather than writing these tags and their Ruby code to the response, the Ruby code is instead executed when the line would have otherwise been written. This capability is useful, for example, for conditionally generating HTML code to be written to the response. The<%= %>tag additionally writes the value returned by the Ruby code into the HTML response.Reload the Welcome page to confirm that the image now appears as depicted in Figure 2.