Displaying Notification Messages Using the Flash
In this demonstration, I will show how to display notification messaging using a Rails feature called the flash. We will continue to build upon the QuizMe project from the previous demos.
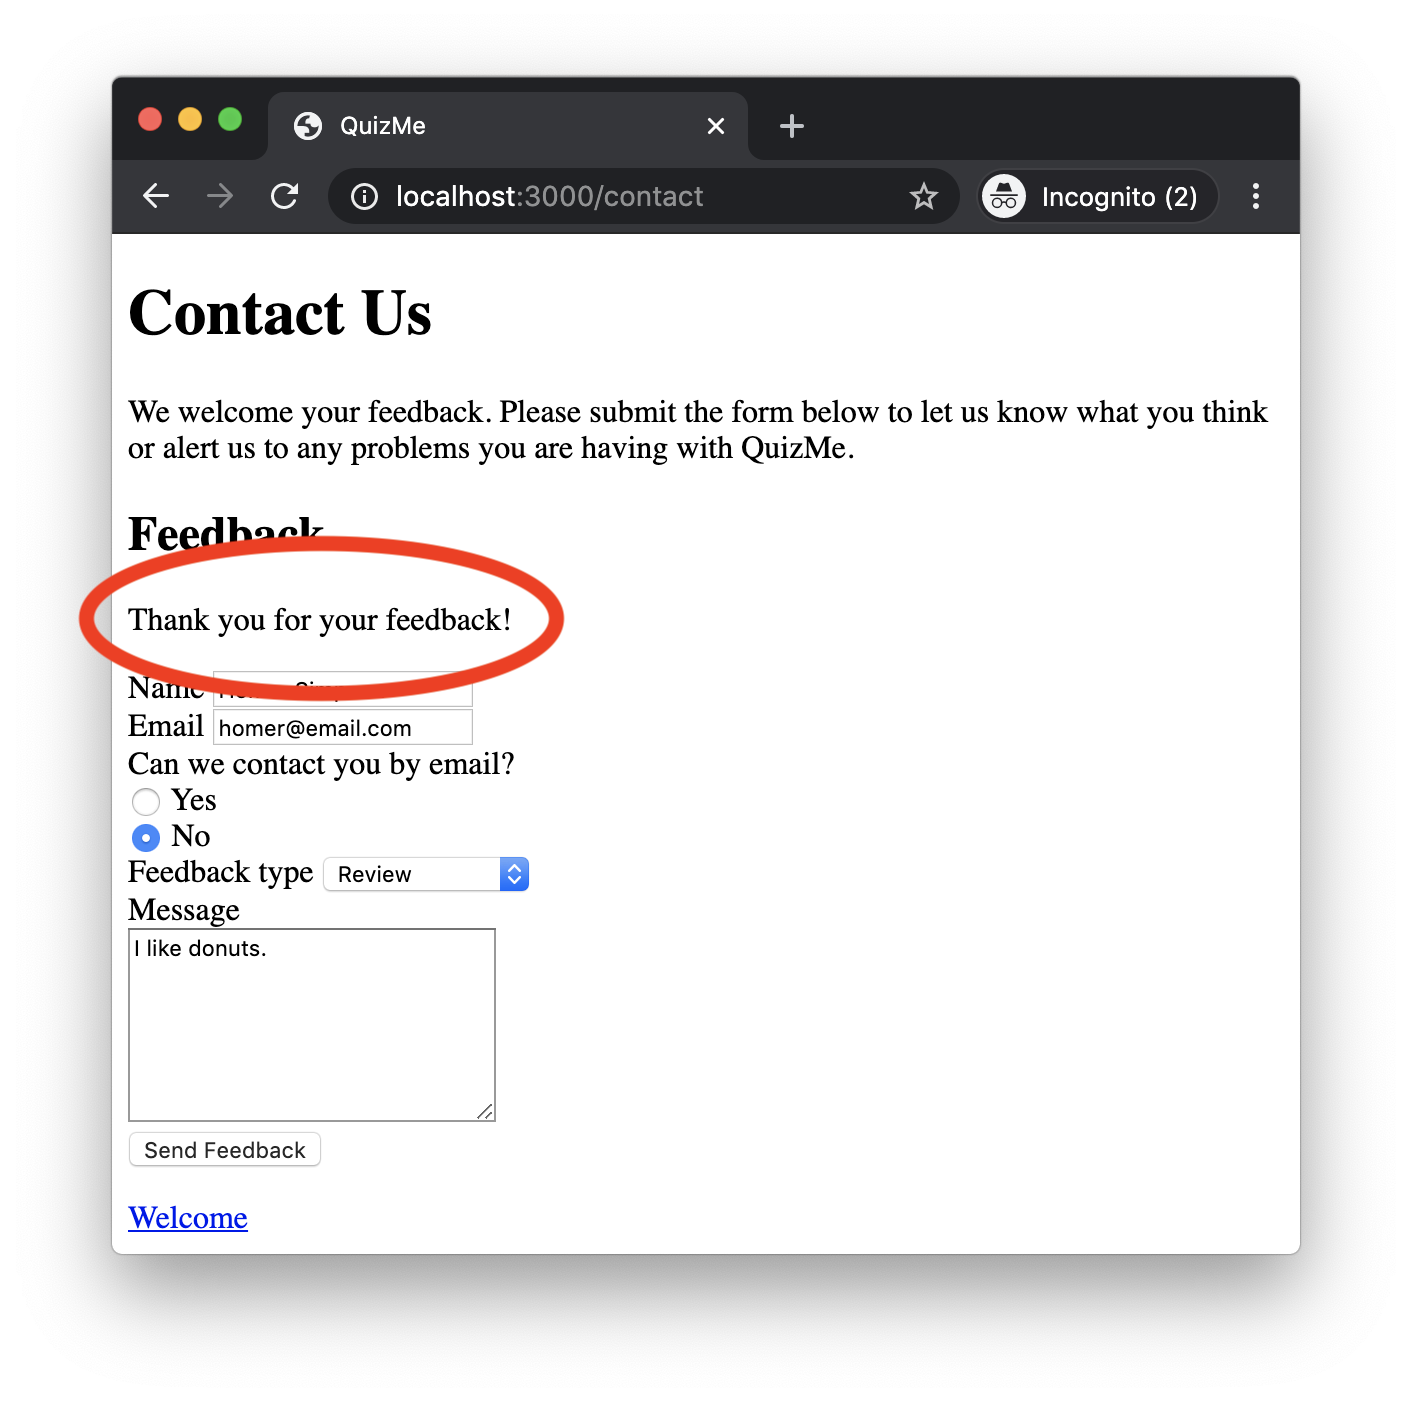
Recall the feedback form we previously implemented, and in particular, recall the notification messages it displays, as depicted in Figure 1.

Figure 1. The notification message displayed when the feedback form is successfully submitted.
In this part, we will refactor our existing notification-message code to accommodate the new forms we will be implementing. It is common for modern web apps to display notification messages after the user performs certain operations. For example, if the user submits a form, a success notification might appear to let them know that the submission was successful. Similarly, if the form submission failed, an error notification might appear.
To implement such messages, Rails provides the flash. The flash is basically a hash that controllers and ERBs can read and write. The flash is part of the session, so the data stored in the flash are specific to a particular user session. What makes the flash special is that the saved data are available only for the next HTTP request of the session. When that request completes, those data are automatically deleted. For more info on sessions and the flash, see this deets page.
To refactor the code we previously wrote for the feedback form’s status message, we will perform the following steps. In particular, we will no longer pass the status message to the view as a local variable. Instead, we will store the message in the flash hash under the key :status_msg. That way, we can have centralized notification-message view code that displays a message whenever one is present in the flash hash.
1. Displaying Feedback-Form Notification Messages Using the Flash
In the leave_feedback method of StaticPagesController, remove the status message from the locals hash, and add the status message to the flash hash, like this:
respond_to do |format|
  format.html do
    flash.now[:status_msg] = form_status_msg
    render :contact, locals: { feedback: params }
  end
end
Note that in this example we use the flash.now method, because we want the flash notification to be available during the current request (and not the next one). For more on this issue, see this deets page.
In the contact.html.erb view, replace the current code for displaying the status message with the following code that displays the status message using the flash:
<% if flash.key? :status_msg %>
  <p><%= flash[:status_msg] %></p>
<% end %>
Run the app, open the contact page (http://localhost:3000/contact), and submit the feedback form to verify that the new flash message working.
2. Centralizing the Flash-Message View Code
It is common to display flash messages on a variety of different pages, so under our current implementation, we would have to repeat the above view code for every page on which we want such messages to appear—not very DRY! Therefore, it makes sense to put the above view code in a single place—namely, the application.html.erb layout.
In Rails, when a controller action renders a view, that view is implicitly wrapped in the default layout, application.html.erb, found in app/views/layouts. This layout contains the <html>, <head>, <body>, etc. tags required for all HTML pages. View code we write, such as show.html.erb, is actually rendered inside the application.html.erb layout. A <%= yield %> statement within application.html.erb specifies where the view code is inserted.
Make it so that the view code for displaying flash messages is implemented in only place by deleting the above view code from contact.html.erb and inserting it into the application.html.erb layout immediately before the <%= yield %> line.
Additionally, it is common for controllers to assign messages to a variety of keys in the flash hash (e.g., :notice and :alert); however, our view code currently handles only the :status_message key.
Display all flash messages (regardless of key) by editing the flash-message view code, like this:
<% flash.each do |key, message| %>
  <p><%= message %></p>
<% end %>
Again, test the app to confirm that the flash message is still working. Note that the message now appears at the top of the page, which is where we want it to be moving forward.